In this guide, we’ll cover the procedure to link your Windows developer account to Appbot.
Linking your Windows Developer Account to Appbot has the following benefits:
- You will receive new reviews from the Windows store into your Appbot account much faster
- See the OS version for each review in Appbot
- Receive the device for each review.
Important – You need to have global administrator permission for your Microsoft account to link your Windows developer account.
- Head to https://partner.microsoft.com/en-us/dashboard/account/v3/usermanagement#apps while signed in to the correct Microsoft Account.
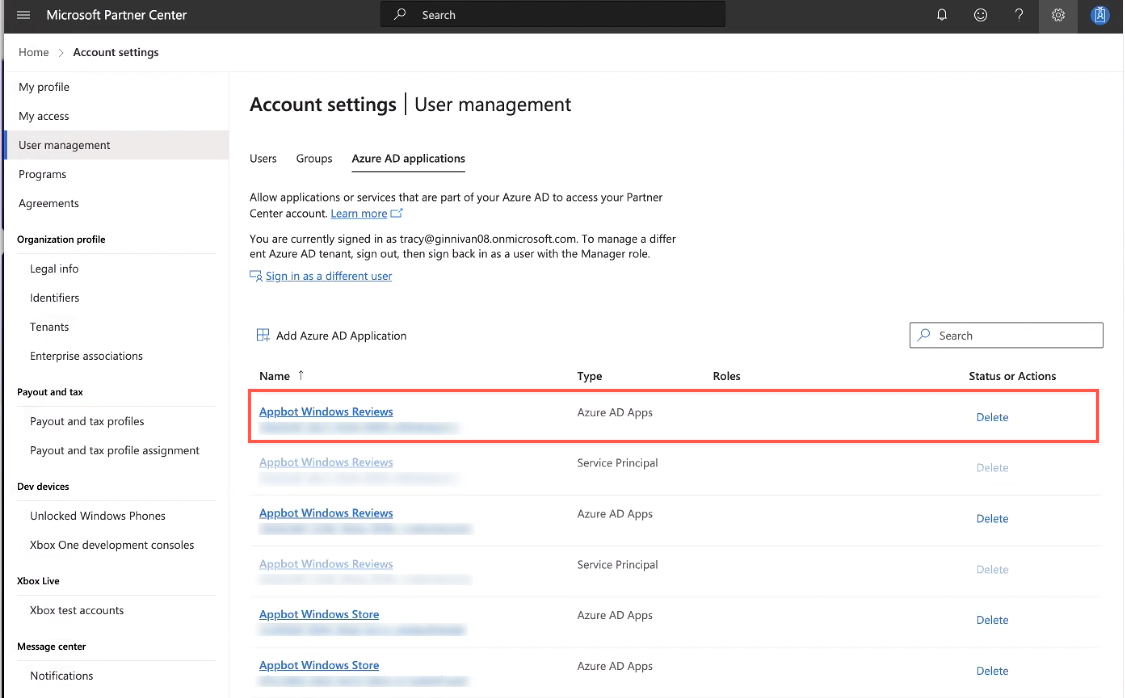
- It will open the User Management page in the Windows Partner Center. First select the “Azure AD applications” tab then when the page has loaded, click on “Add Azure AD Application”
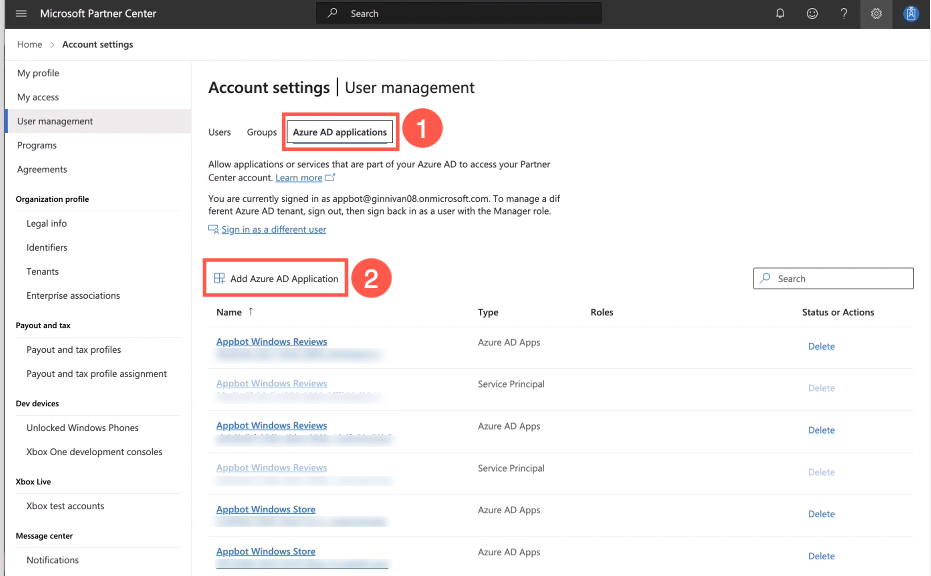
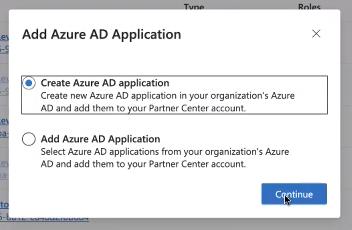
- In the pop-up choose “Create Azure AD Application” then select the “Continue” button.
- Name the Azure AD Application “Appbot Windows Reviews”, enter “https://appbot.co” as the Reply URL and api://yourdomain as the App ID URI. Then select ‘Next’
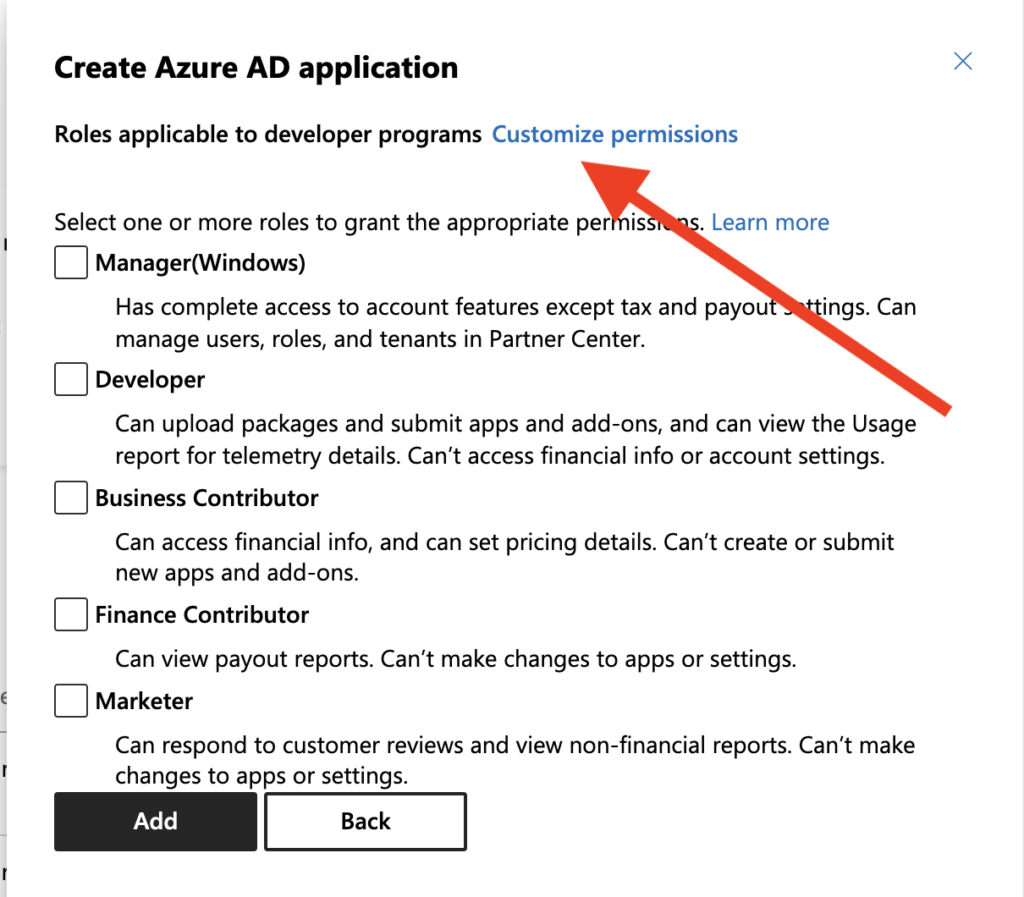
- Then choose ‘Customize permissions’
- Under Product-level permissions, ensure that All products – Analytics is set to Read only and press ‘Create’
- Select ‘Cancel’
- From the Manage users page, select ‘Appbot Windows Reviews’
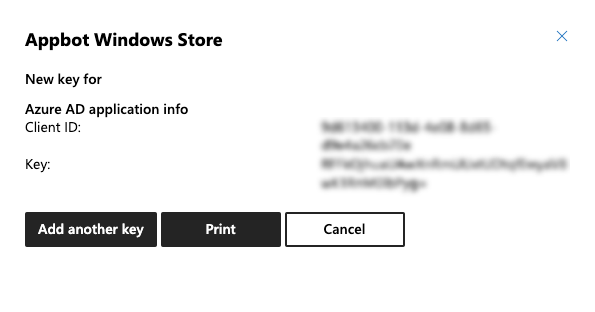
- Click ‘Add new key’.
- Note down the ‘Key’ then select ‘Cancel’
- Note the ‘Tenant ID’ and ‘Client ID’
- Login to your Appbot account. From the top toolbar click on the Cog icon
- Then click ‘Link App Stores’ from the menu.
- Select ‘Link a Microsoft Account’.
- Enter in your “Tenant ID”, “Client ID” and “Key” from earlier and press the “Link Account” button.
- Congratulations, your account has been linked! Our bots will now complete the account link, you will see a green ‘Authenticated’ badge on each authenticated app on the Manage Apps page within the next 10 minutes.
If you need any further assistance on linking your windows developer account, don’t hesitate to contact us. We also recommend checking out out our FAQ section here.
