To get the most from Appbot, it’s a good idea to link your Google Play Console account and authorize view access.
Linking your Google Play Console to Appbot allows you to:
- get app version data for each app review
- get device data for each app review
- fetch the complete review history for your Google Play apps.
- fetch the complete rating history and get ratings breakdowns.
- reply from within Appbot.
If you haven’t already signed up for Appbot, hit the button below to claim your free 14-day trial!
In this guide, we’ll cover the procedure to link your Google Play Console account to Appbot and how to authorize access to your reviews. There are two parts to the process:
- Create the connection and add permissions in the Google Cloud and Google Play Console account.
- In the Appbot account upload the Google created .json key and if required, enable replies.
Setting Up A New Google Play Console Connection
1. Log in to the Google Play Console
Open the Google Play Console and log in as the account owner and in another browser tab, go to your Google Cloud Console page.
2. Create a Google Cloud Project
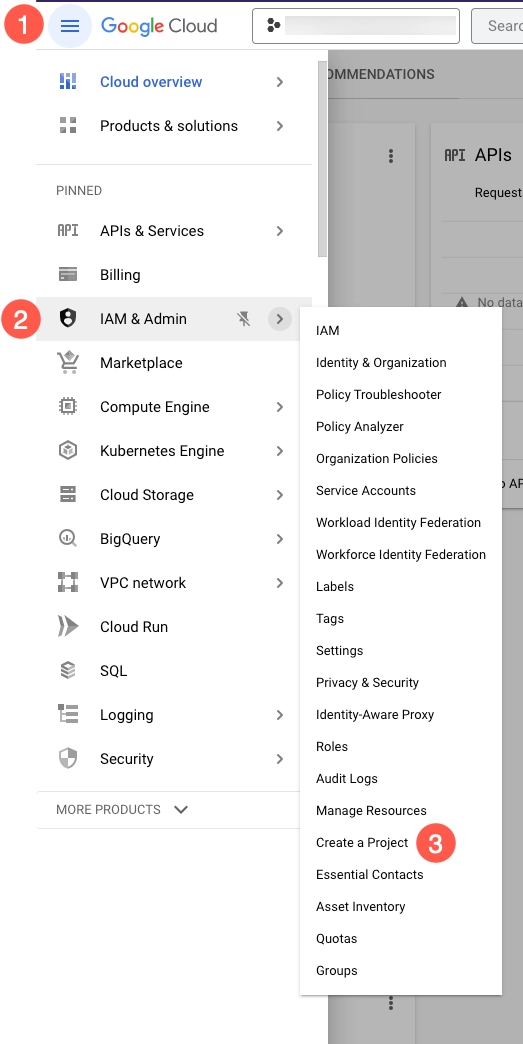
Select the Menu > IAM & Admin > Create a Project
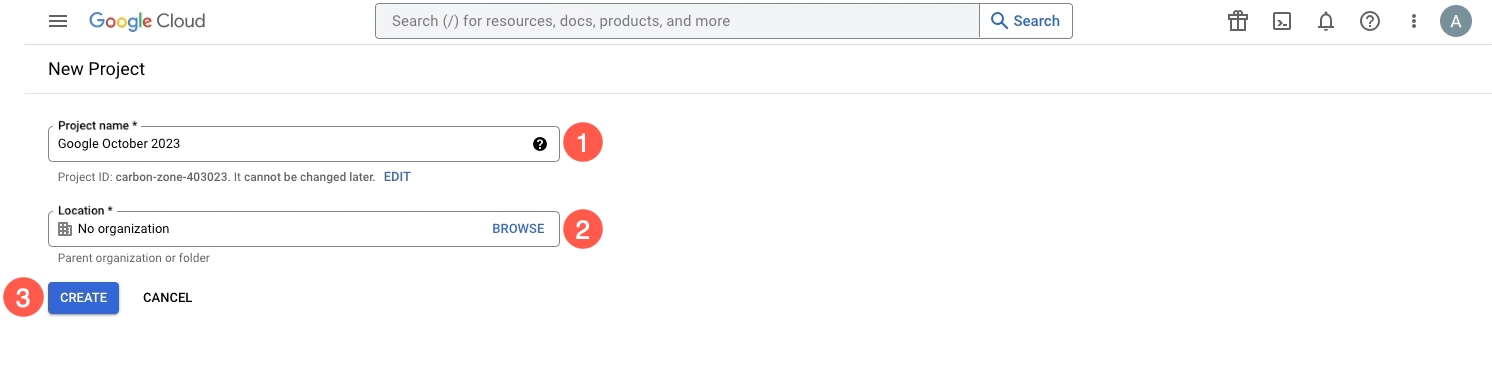
Enter the Project Name and select the Organization, if required. Then select the Create button.
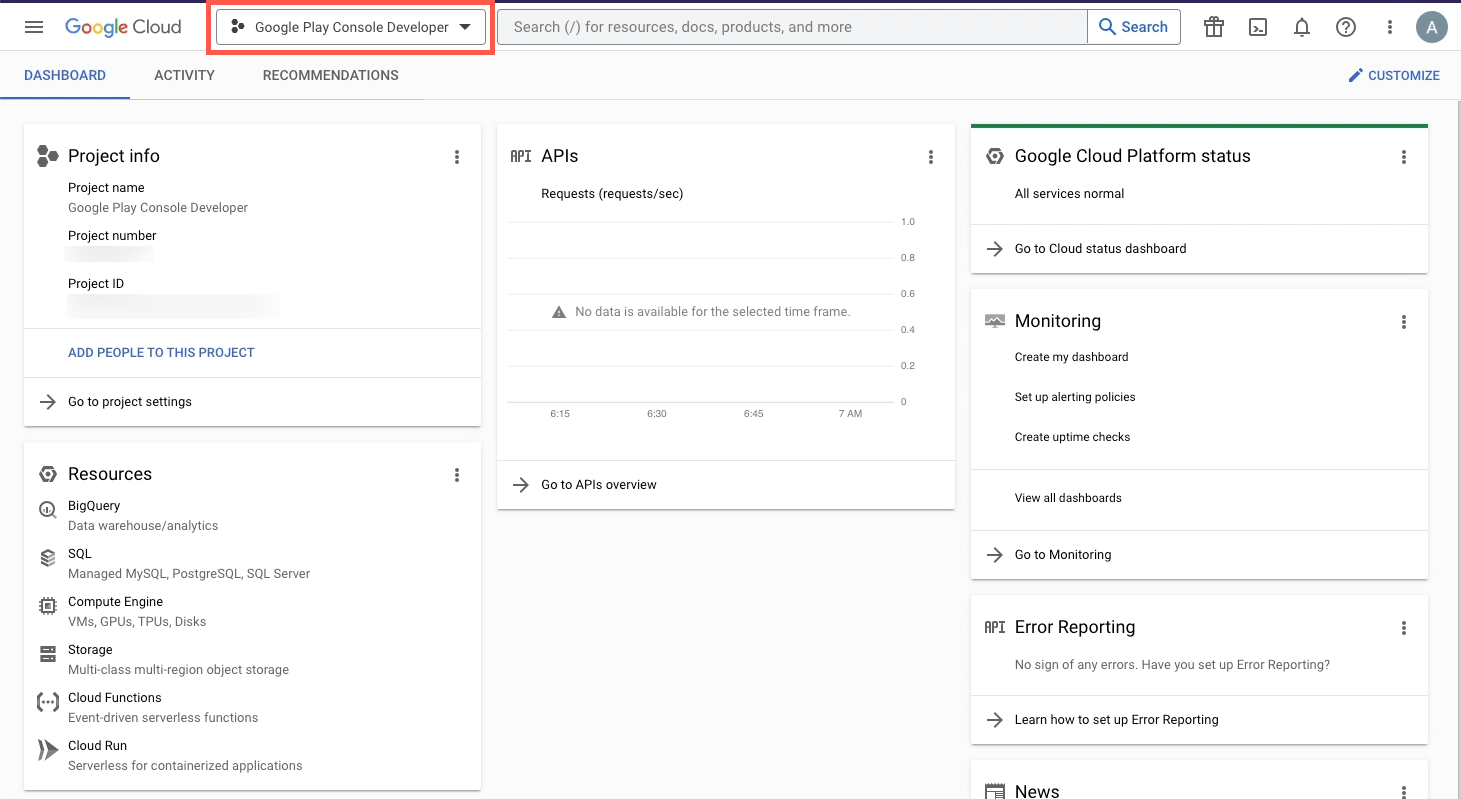
 The project dashboard will open. Make sure the correct project is showing at
the top of the dashboard.
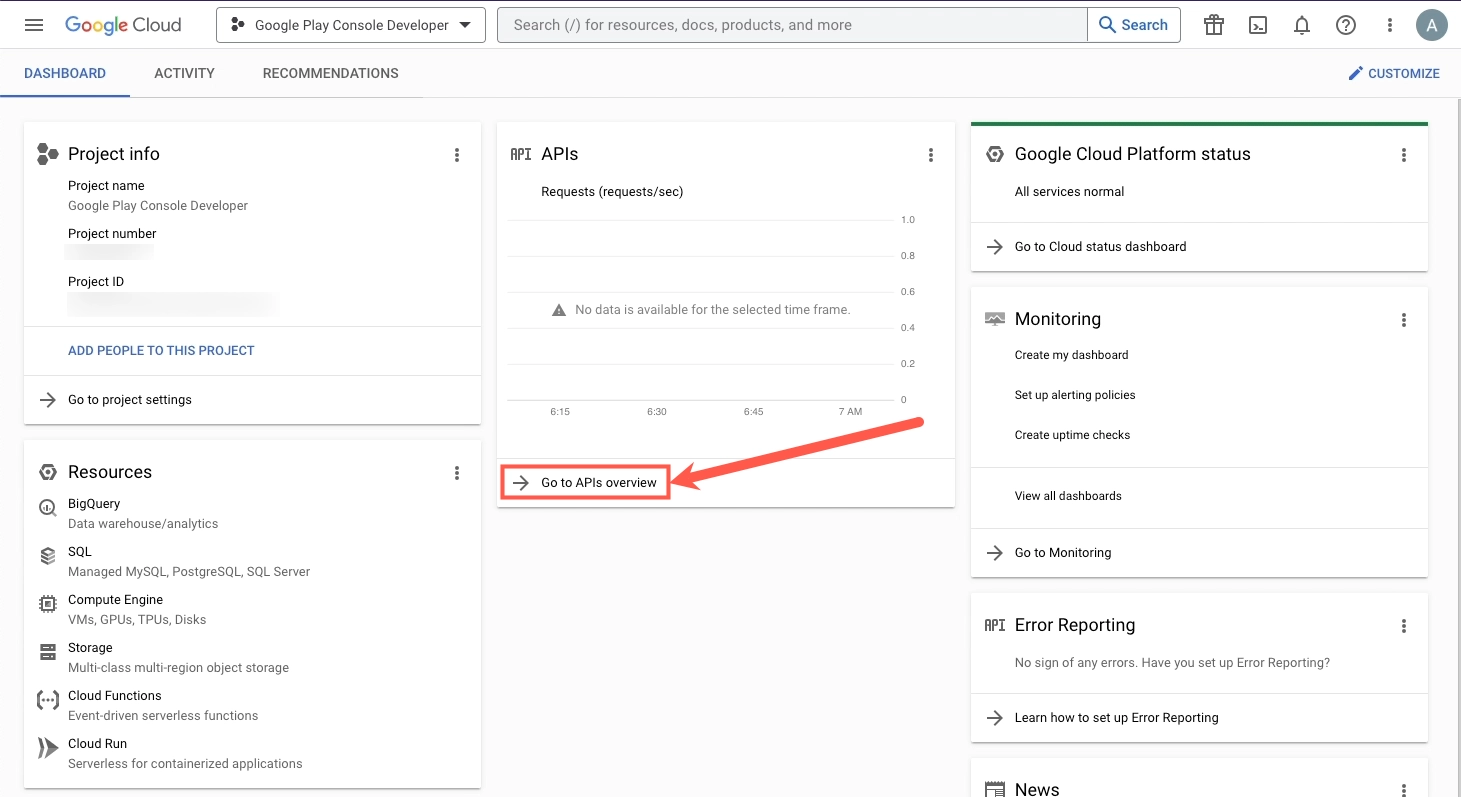
Select Go to the APIs overview
Then select + Enable APIs and Services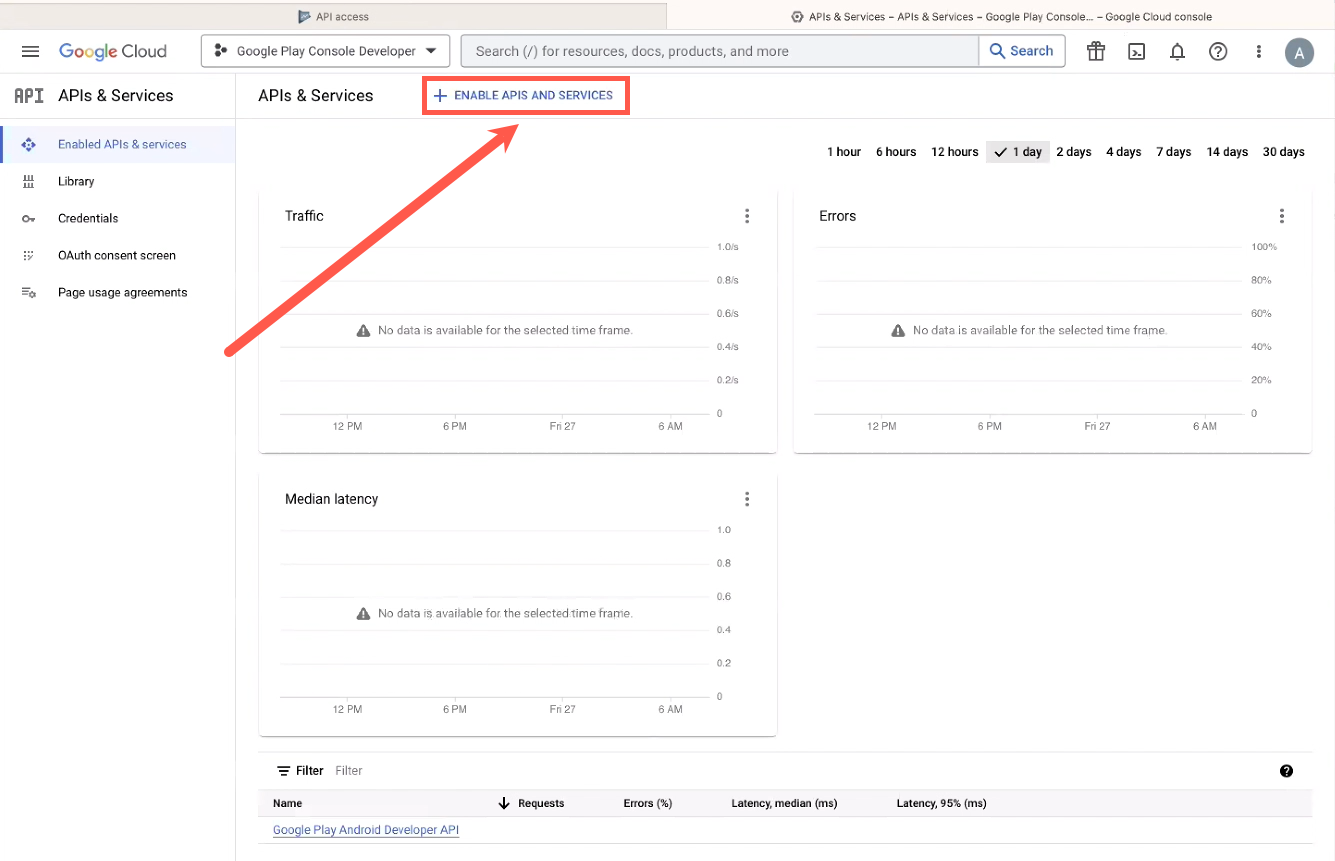
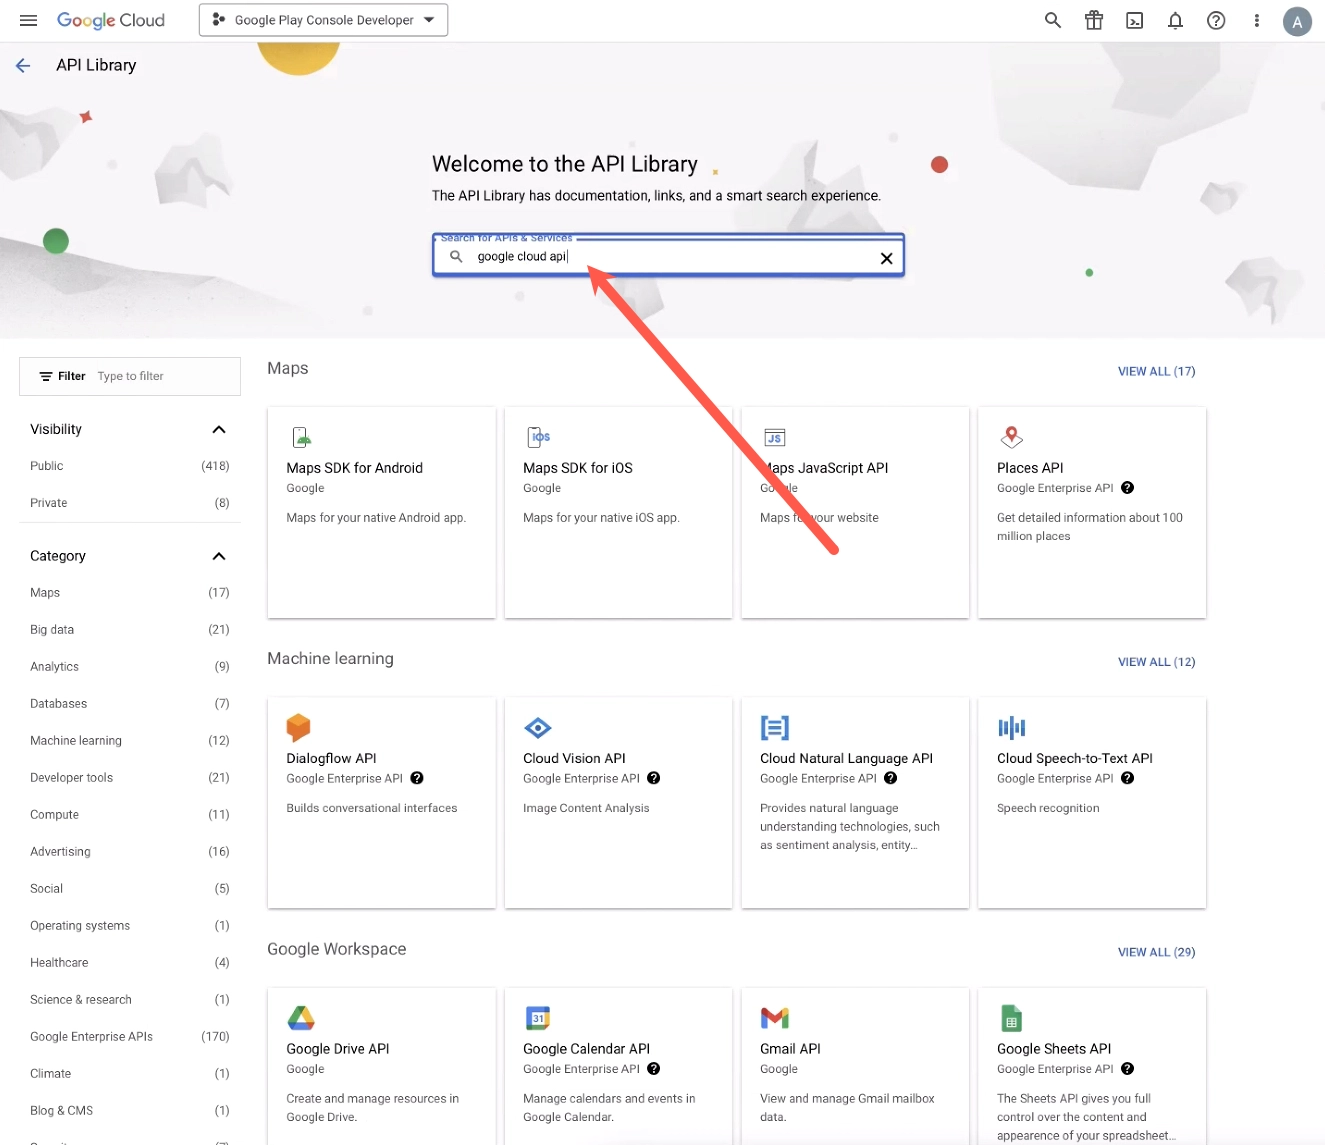
3. Search for APIs in Google
Search for the following API’s and make sure they are all ENABLED:
- Google Cloud APIs (lets us authenticate you)
- Cloud Storage (allows us to access historical review data)
- Google Cloud Storage JSON API (also allows us to access historical review data)
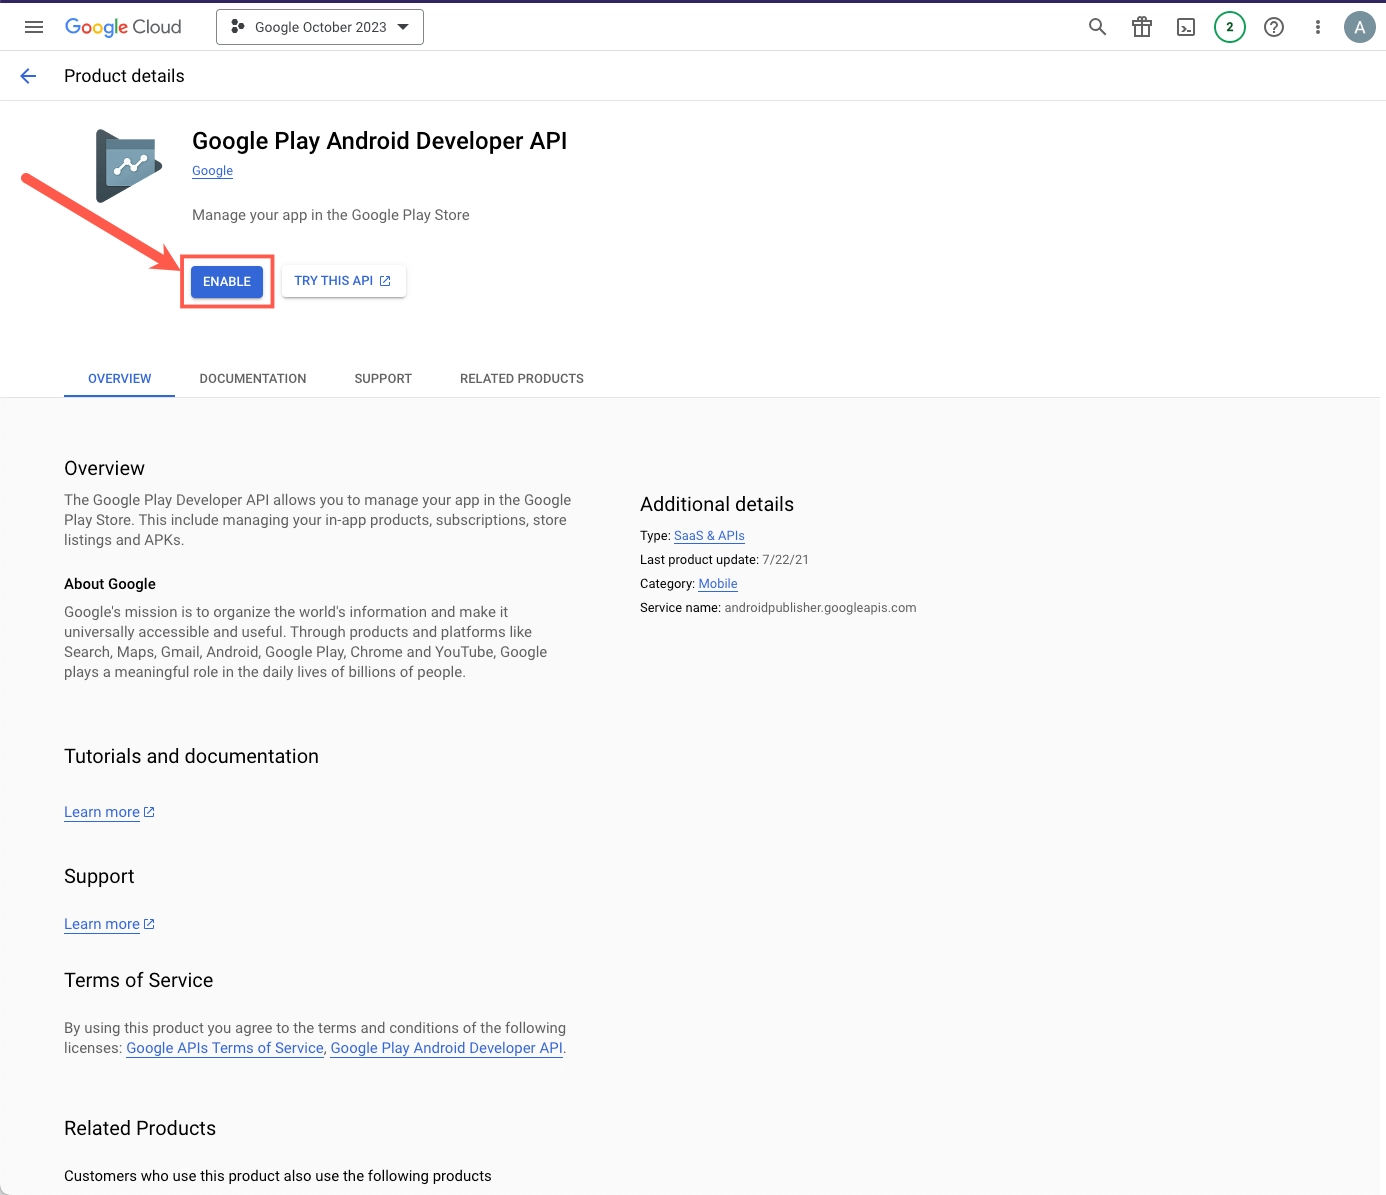
- Google Play Android Developer API (allows us to access current review
data)
If a require API is not enabled, choose the Enable button
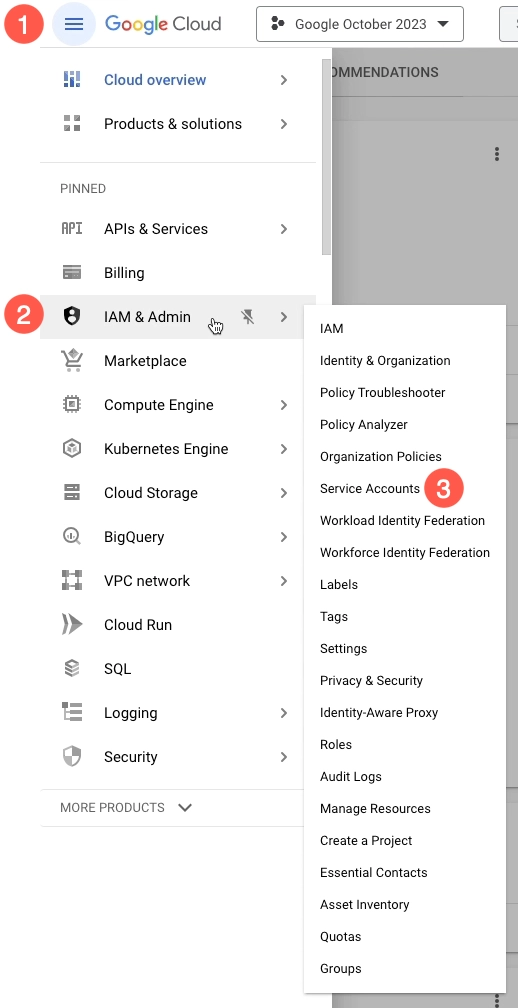
4. Open Service Accounts in Google Cloud
In Google Cloud select Menu > IAM & Admin > Service Accounts
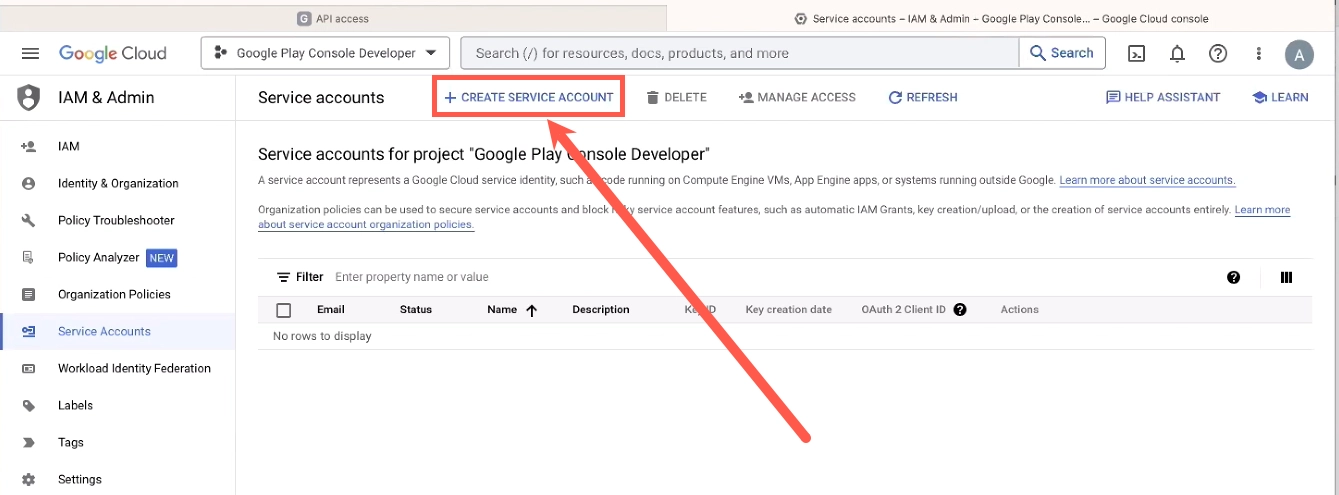
5. Create Service Account in Google Cloud
The service accounts page will load, select +Create Service Account at the top
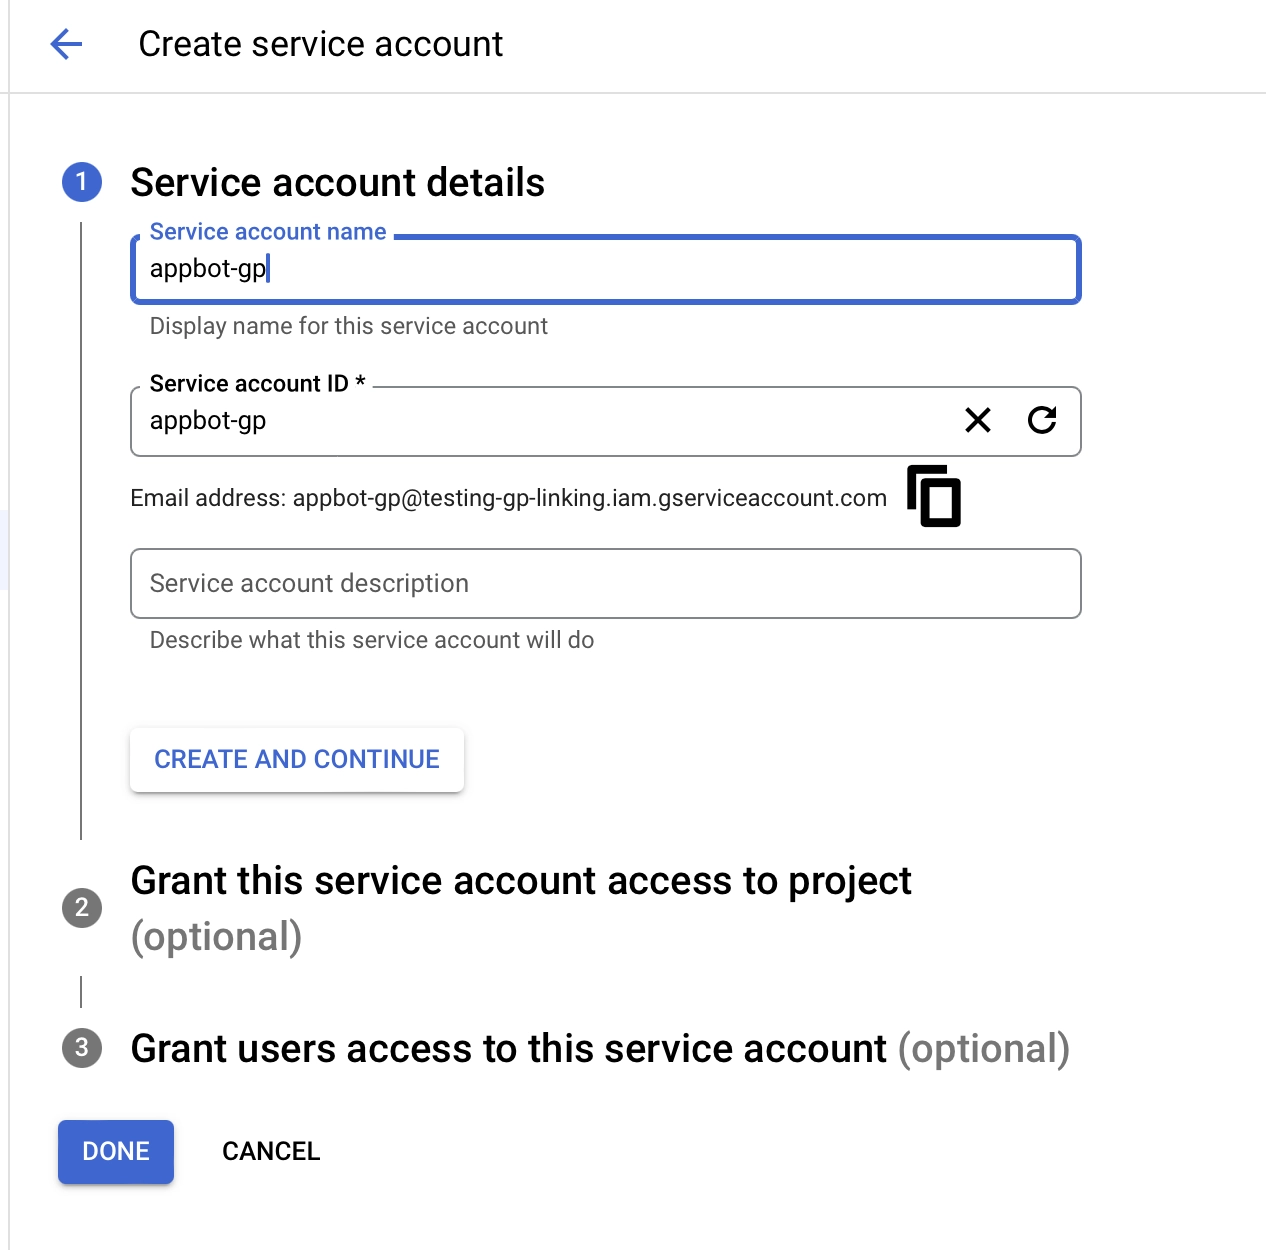
Give the service account a name (this can be anything you want, but it’s a good idea to name it something to do with Appbot so you know what it is in the future), and then select the Create & Continue button.
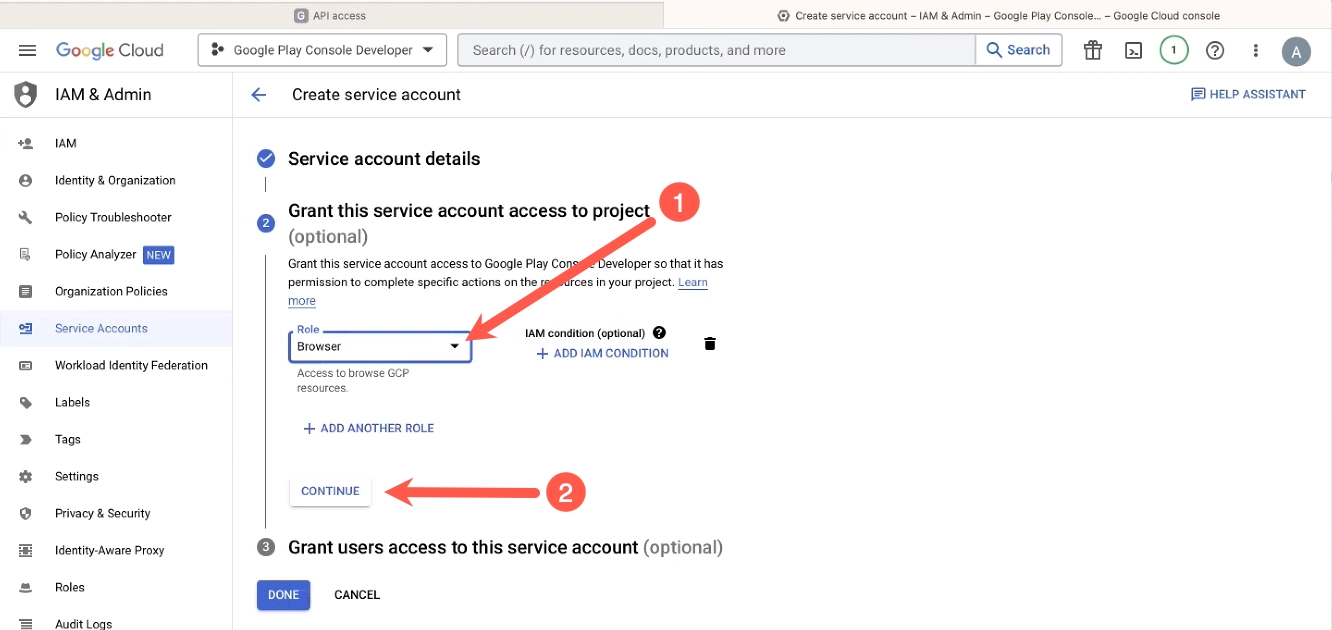
6. Service Account Roles for Google
Under the Select a role dropdown, choose Basic and select Browser, then click Continue.
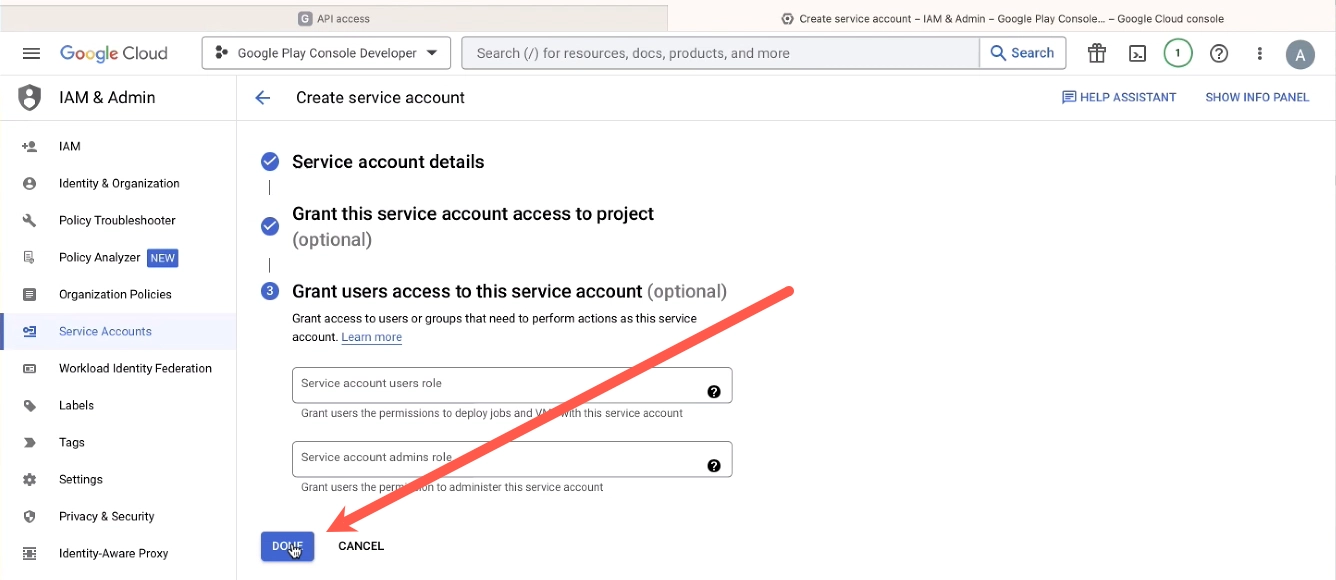
Then select Done:
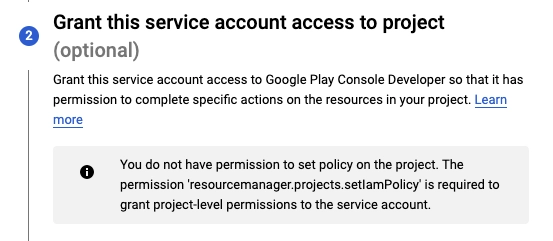
Please note, if you see the following error it means you are not logged in as the Google Play Developer Console owner.
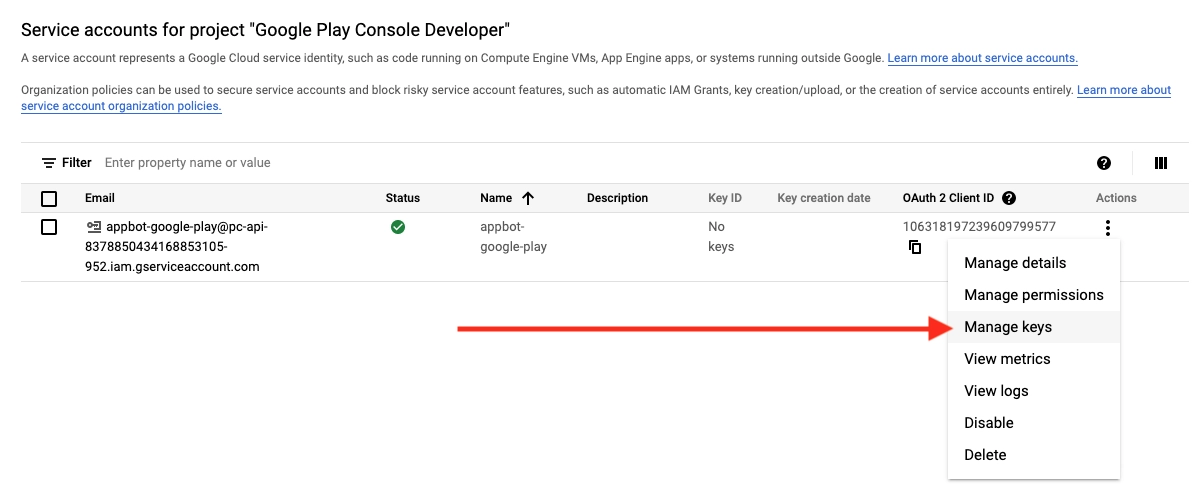
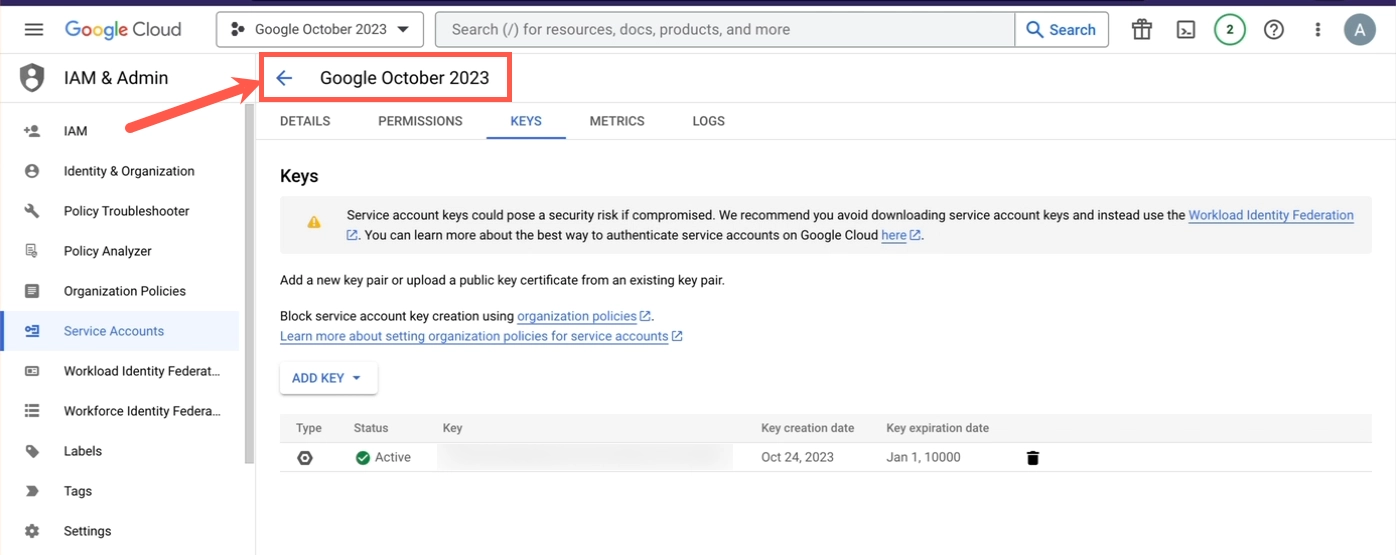
7. Create Key
Click the Menu (three dots) and then Manage keys.
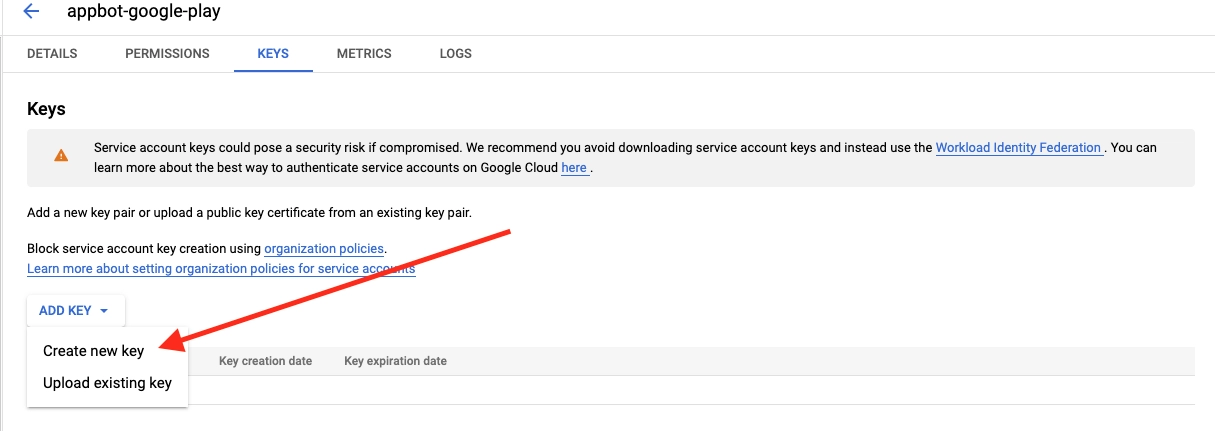
 From Add Key select Create new key in the dropdown.
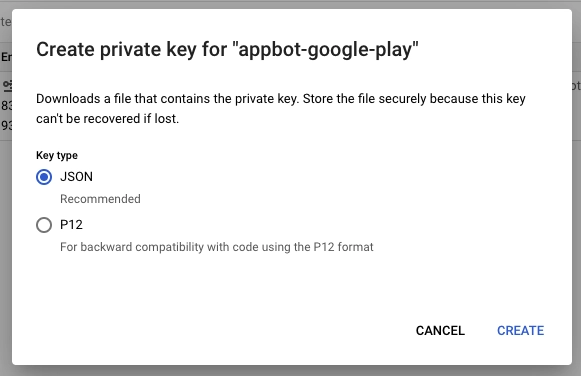
Select JSON and then Create.
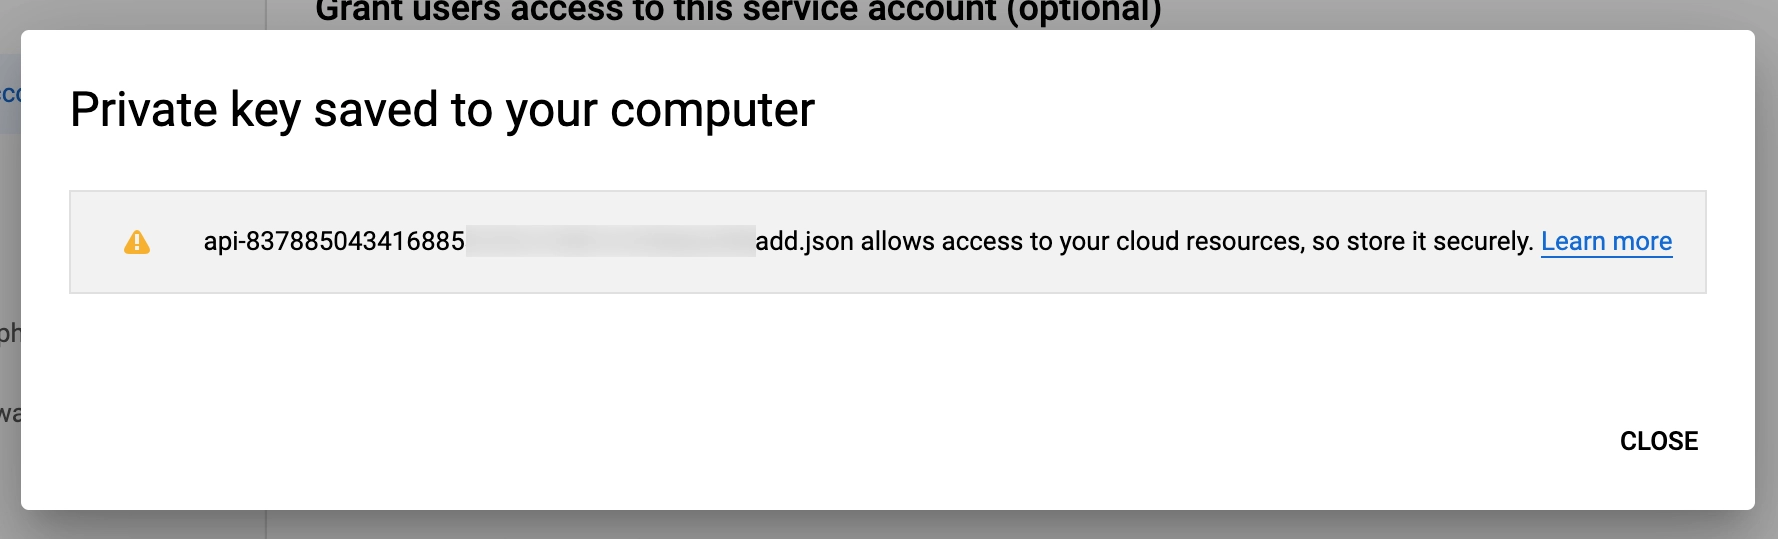
8. Save Key
You should then get a message telling you Private key saved to your computer and the private key should begin downloading. Click Close on the dialog.
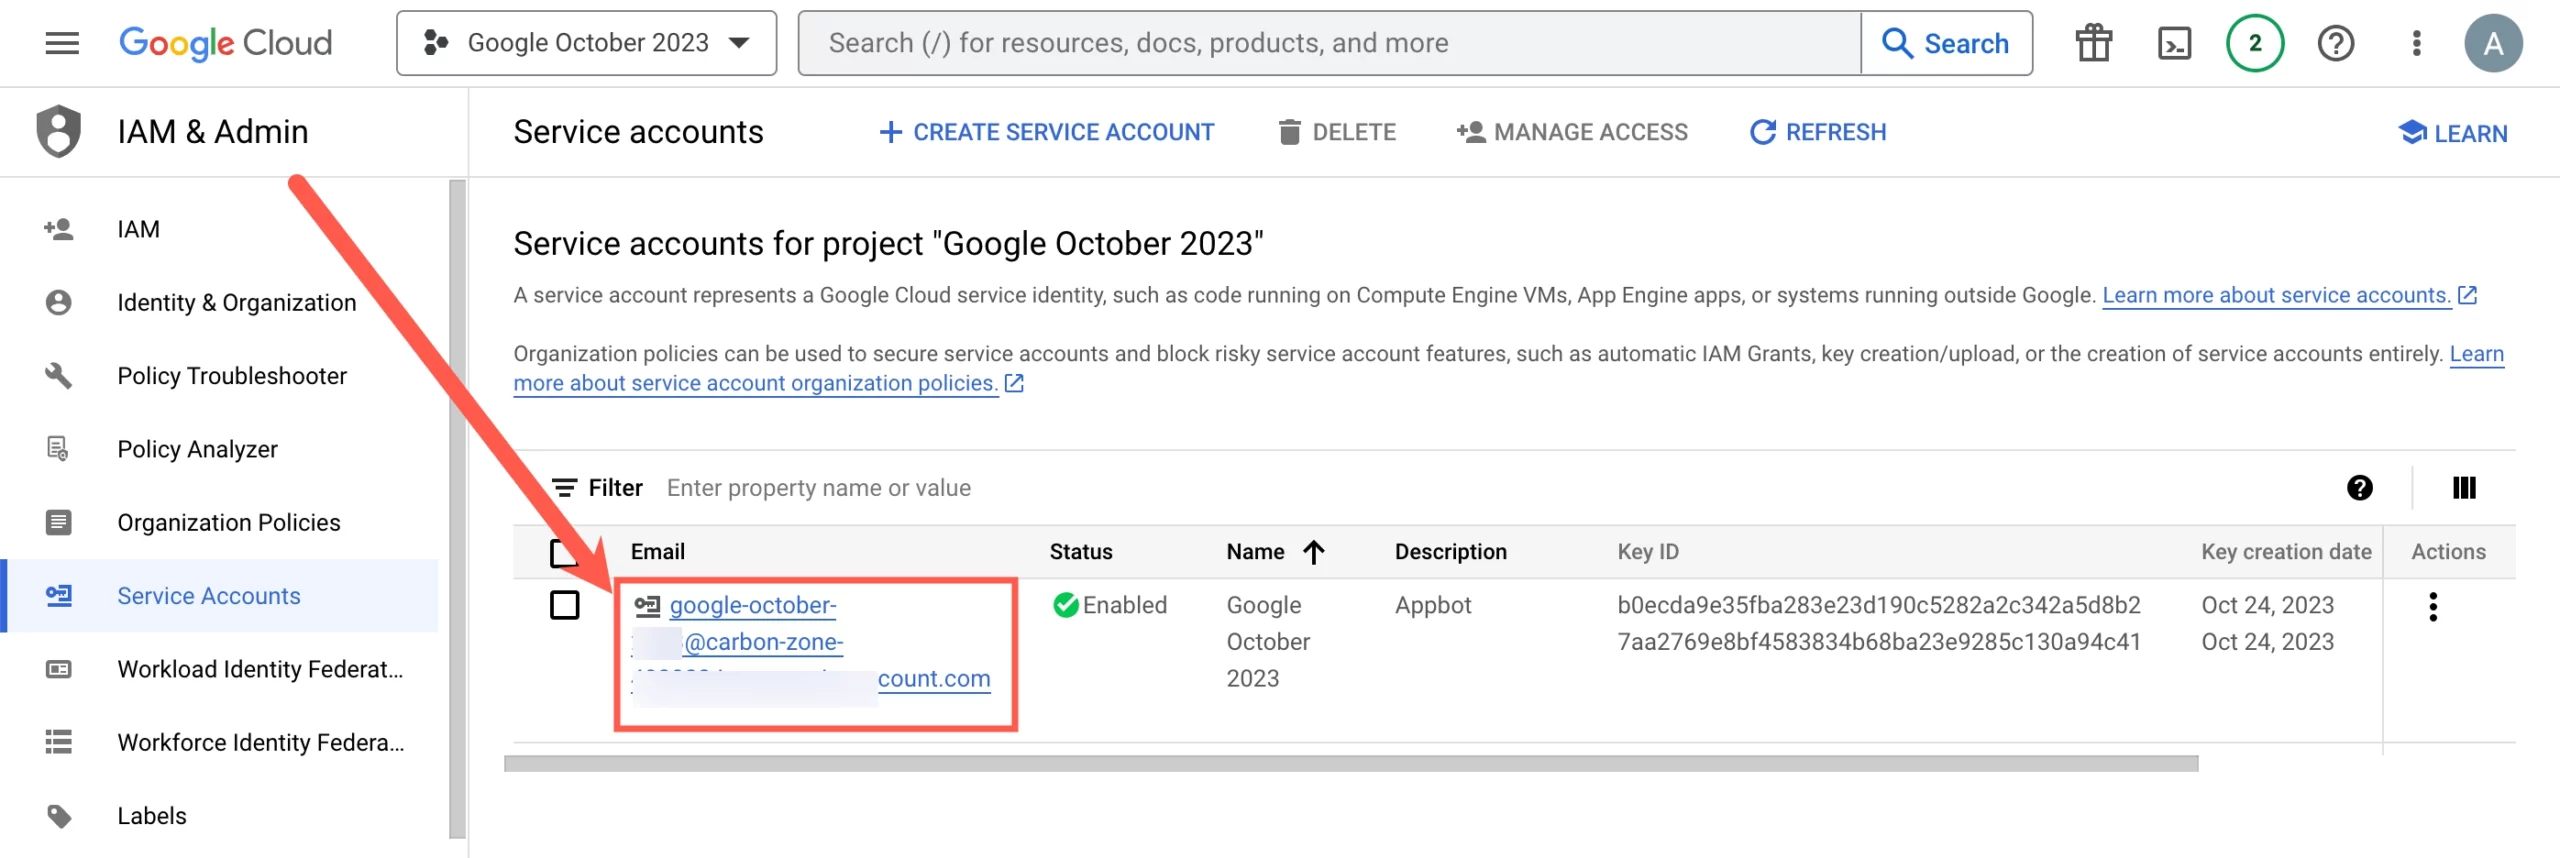
Close the pop-up and then press Done on the previous tab. This will return you to the Developer Console and API Access.
This takes you back to the Service Account page. Copy the user email address for the service account.
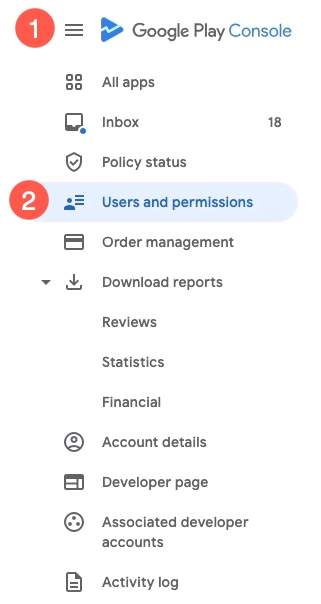
9. Granting App permissions
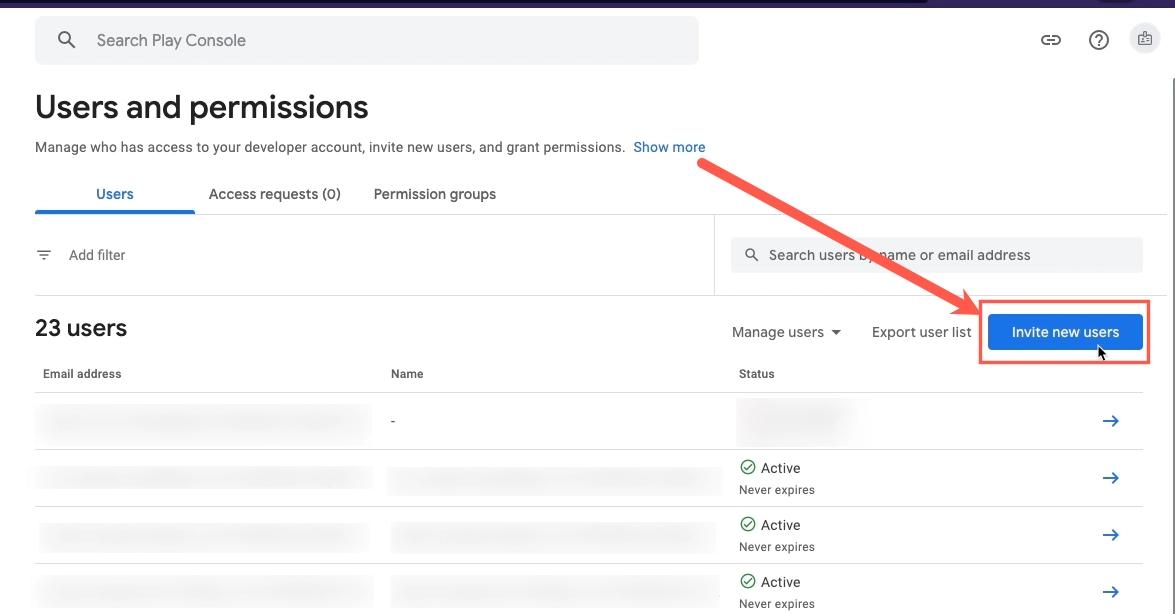
Back in your Google Play Console account, select the Menu > User Permissions
Select the Invite New Users button
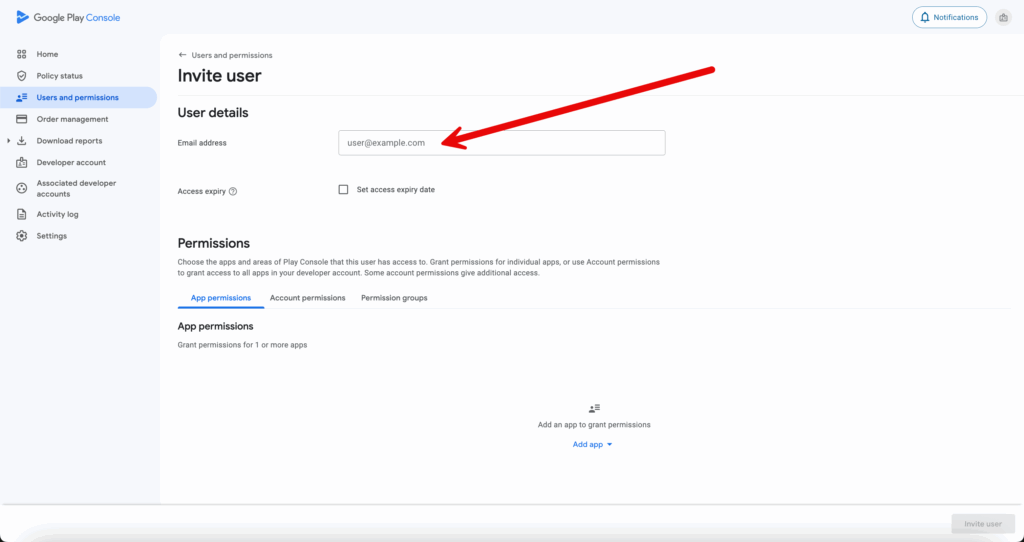
Paste the email address you copied from the Service Account page
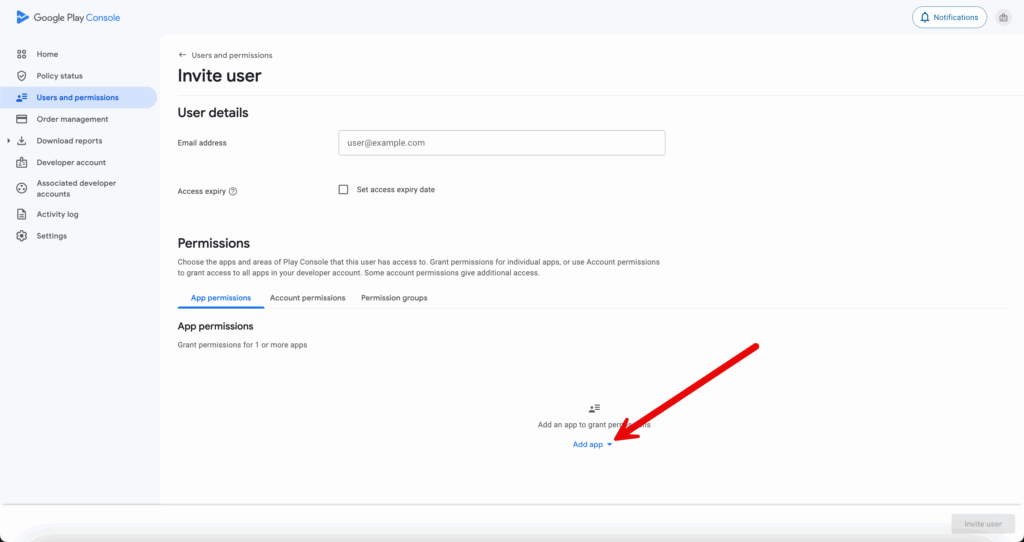
 Then select “Add app” under the App Permissions tab:
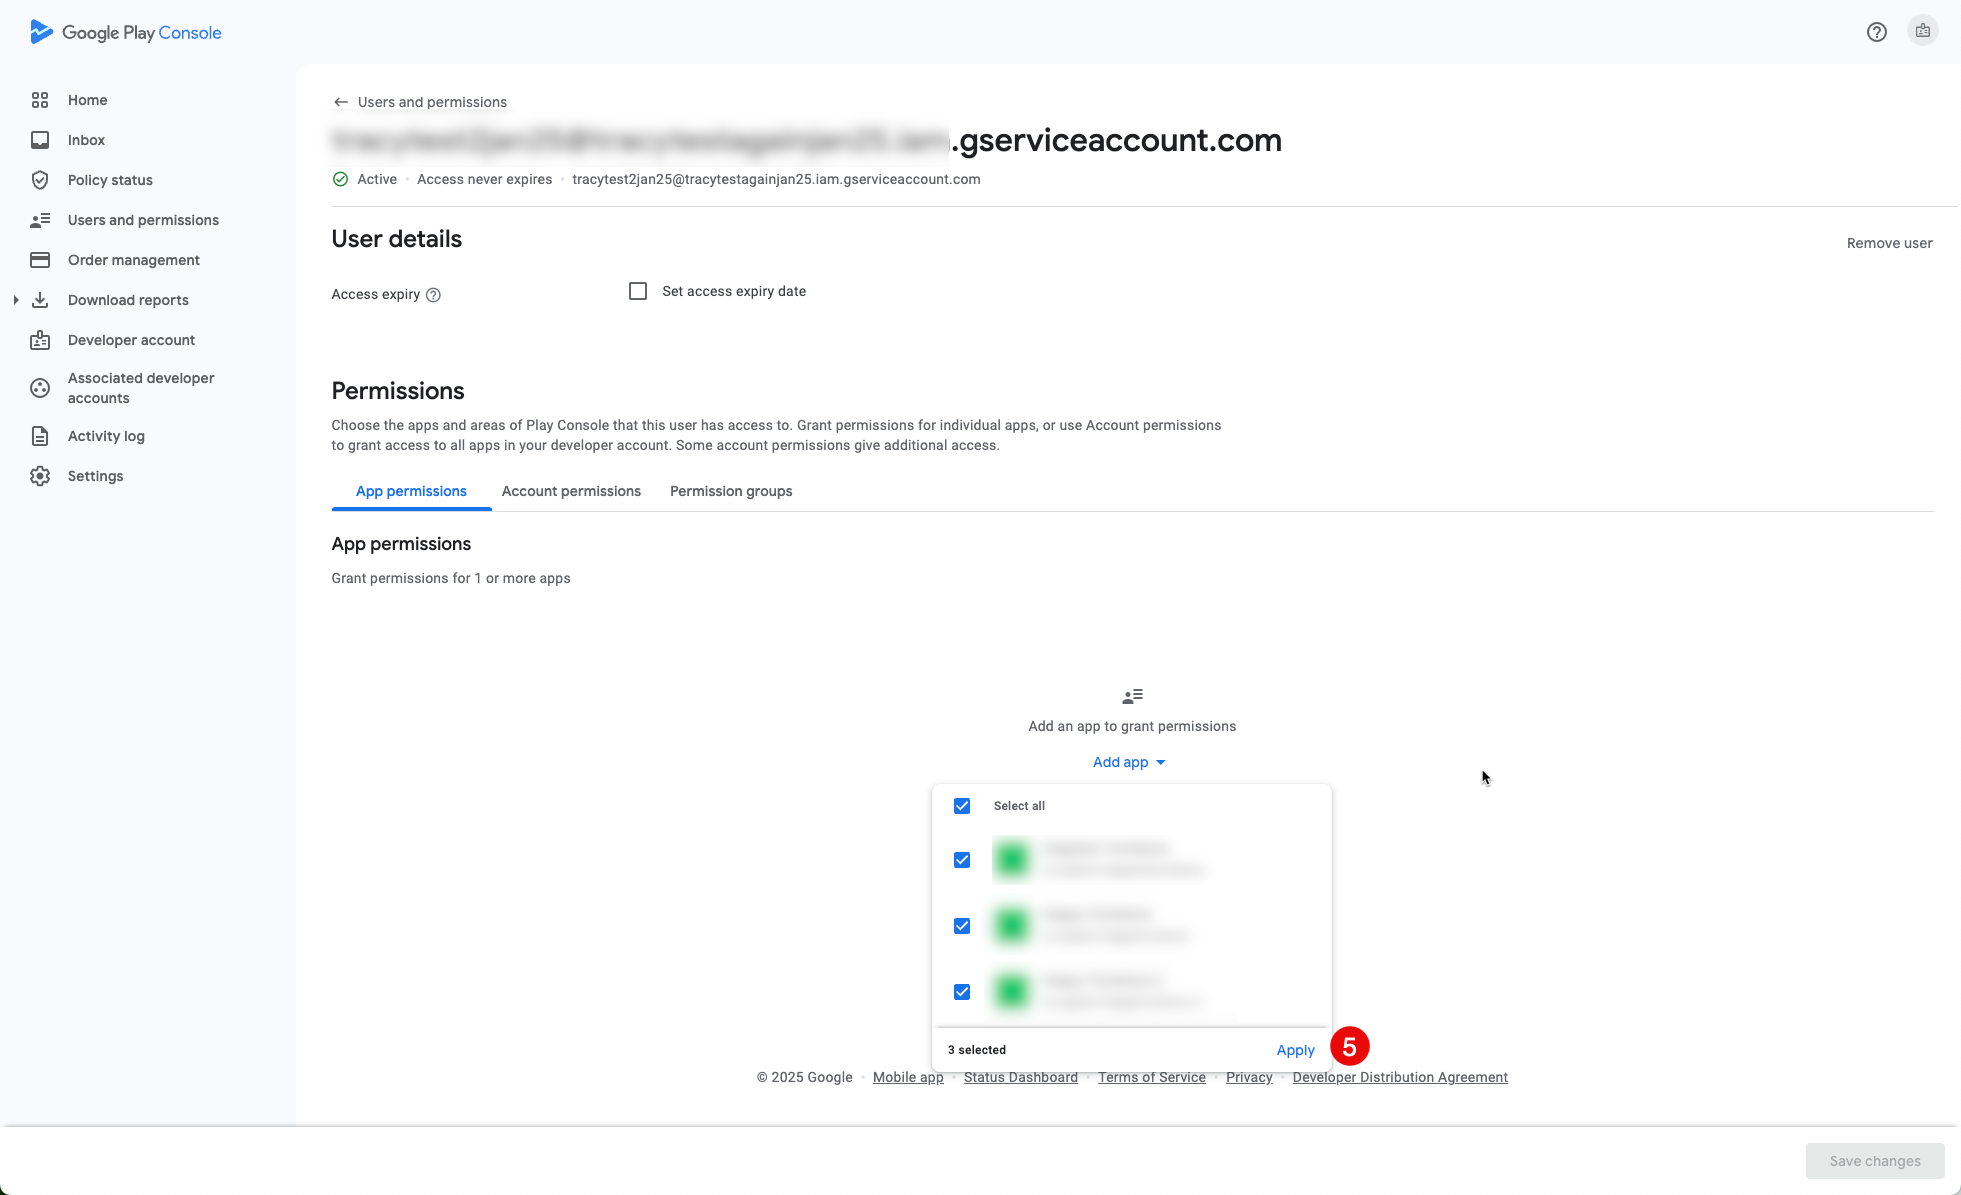
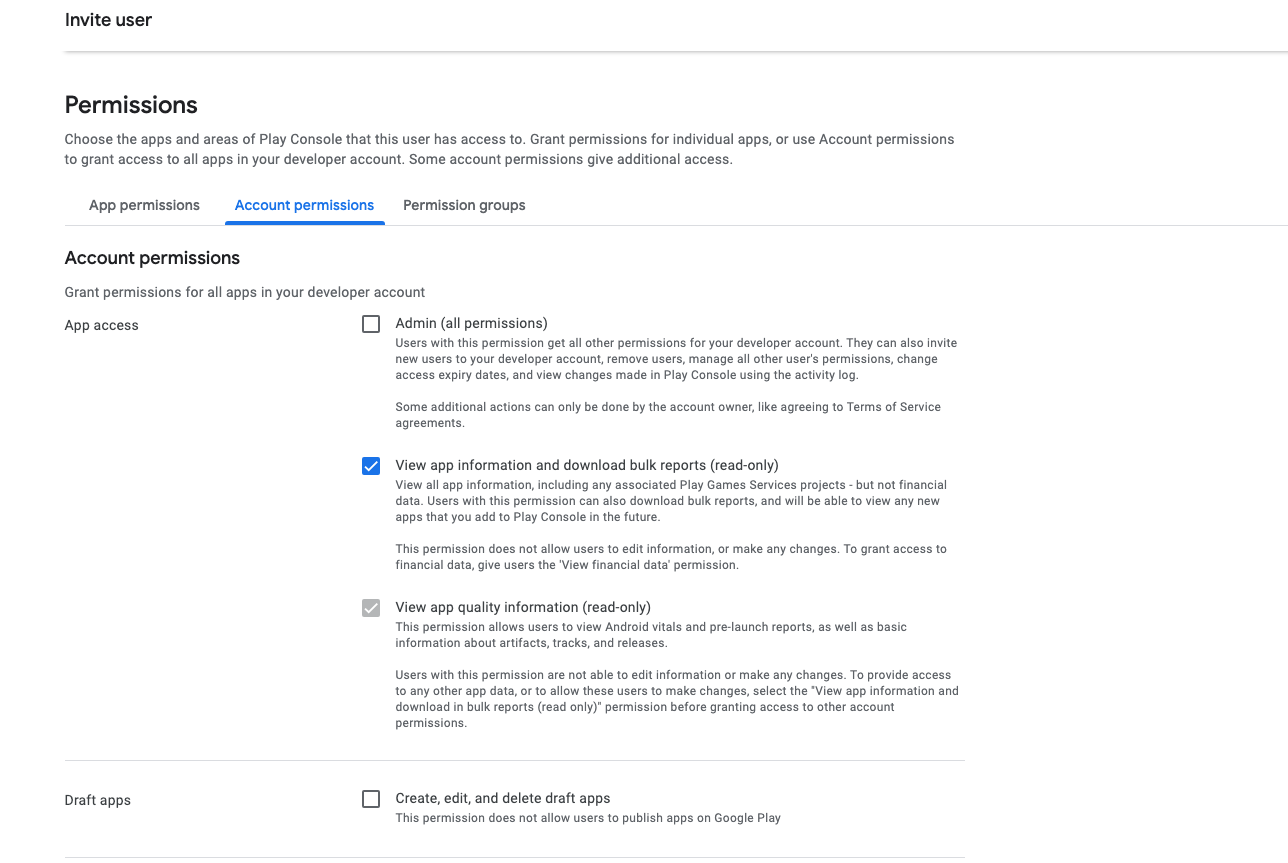
It will then open the Account Permissions page.
10. User Access Account Permissions
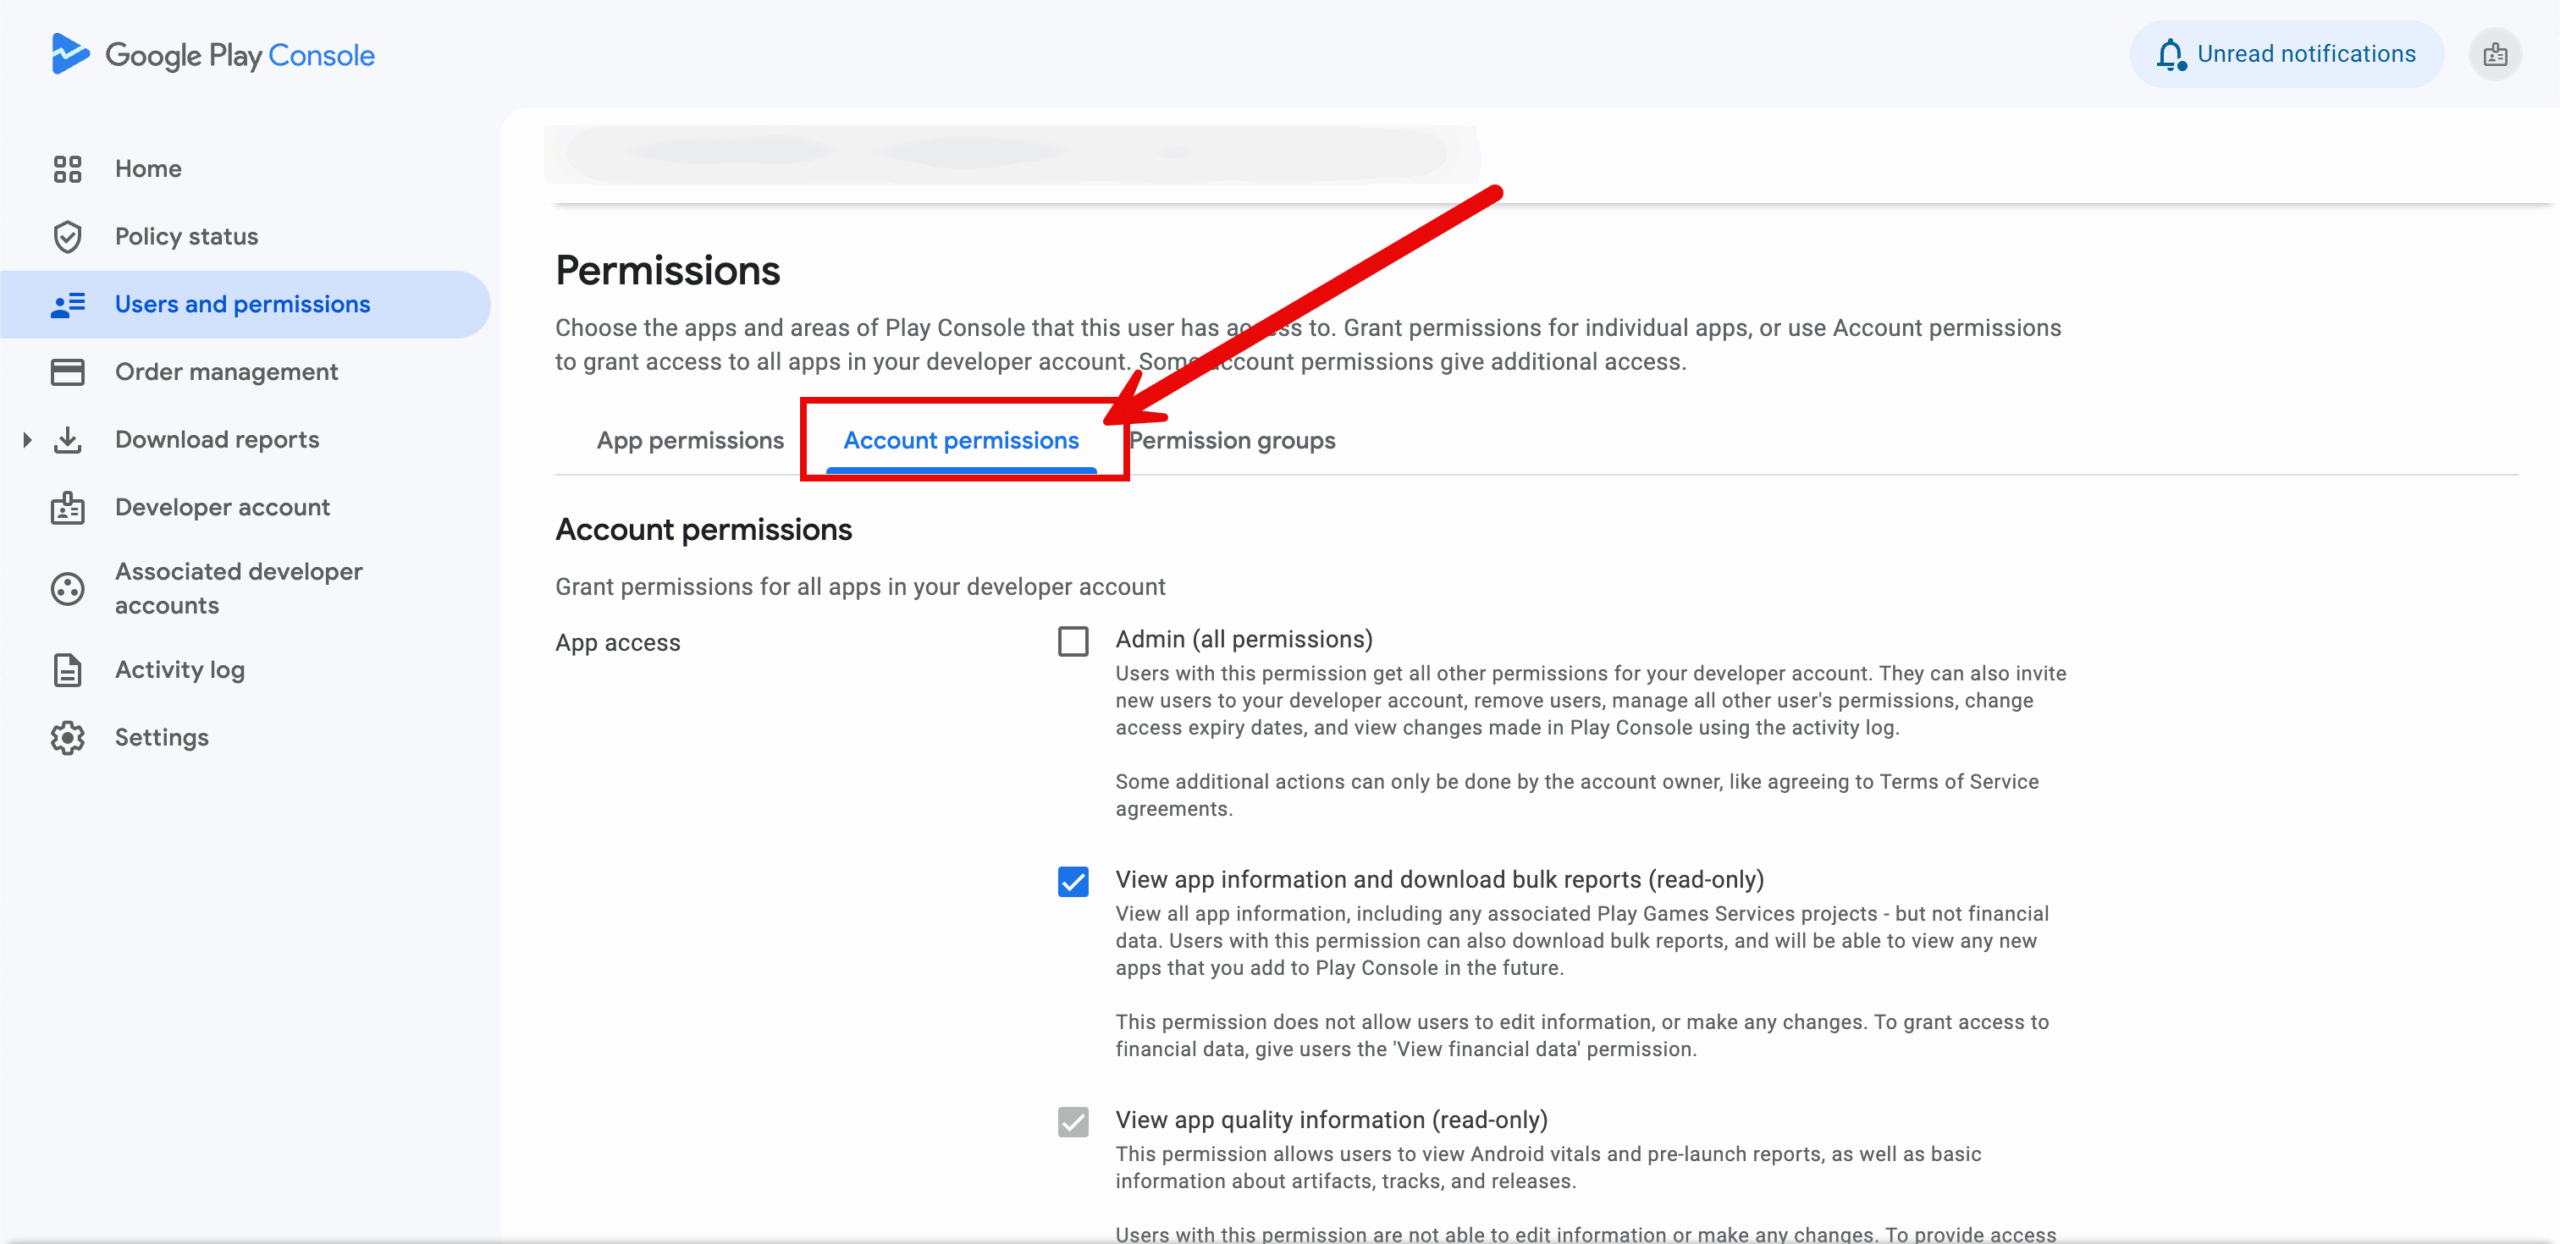
Under the Account Permissions tab, uncheck all except:
- View app information and download bulk reports (read-only) – so you’re only giving the Visibility permission to Appbot. This allows us to access the data in the Reports section of your Console account, which is where we obtain the historical review data. This will also automatically select “View app quality information (read-only)
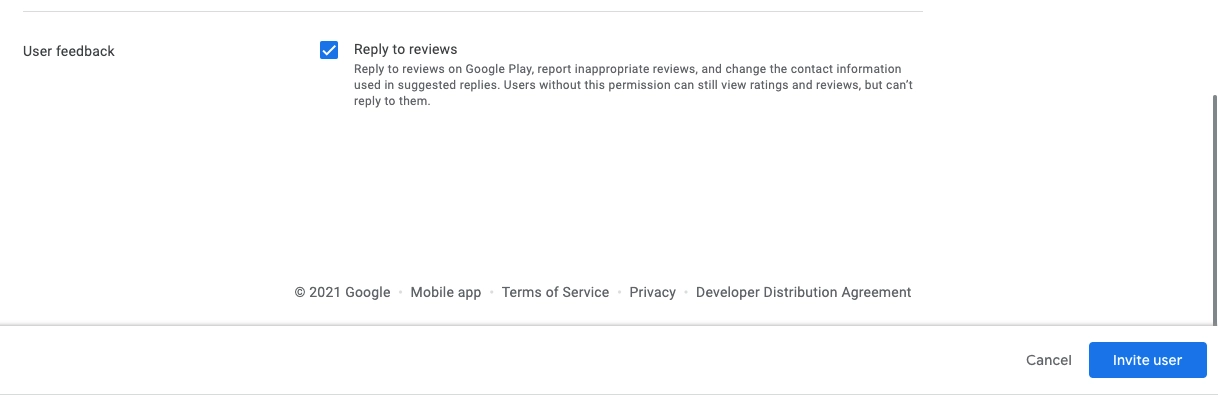
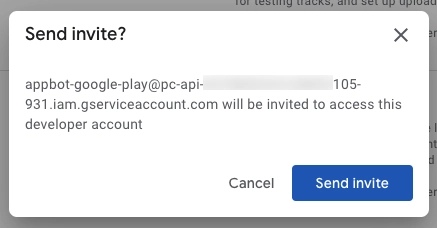
- Reply to reviews – so you can reply from within Appbot. Then press Invite User.
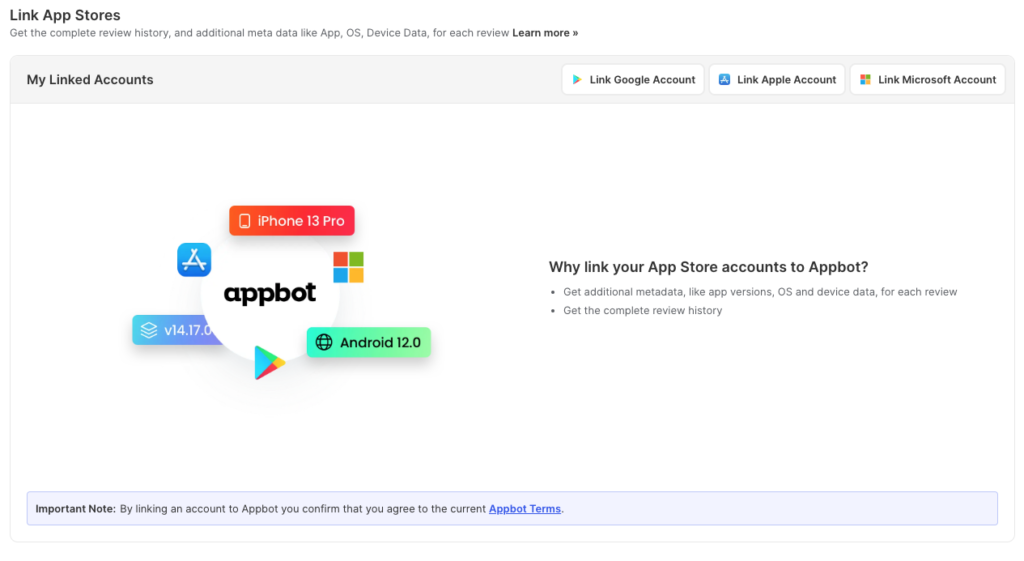
11. Open Appbot
Login to your Appbot account, in the header, click the Cog icon, then click Link App Stores from the menu. On the page that loads, press Link Google Account.
12. Choose File
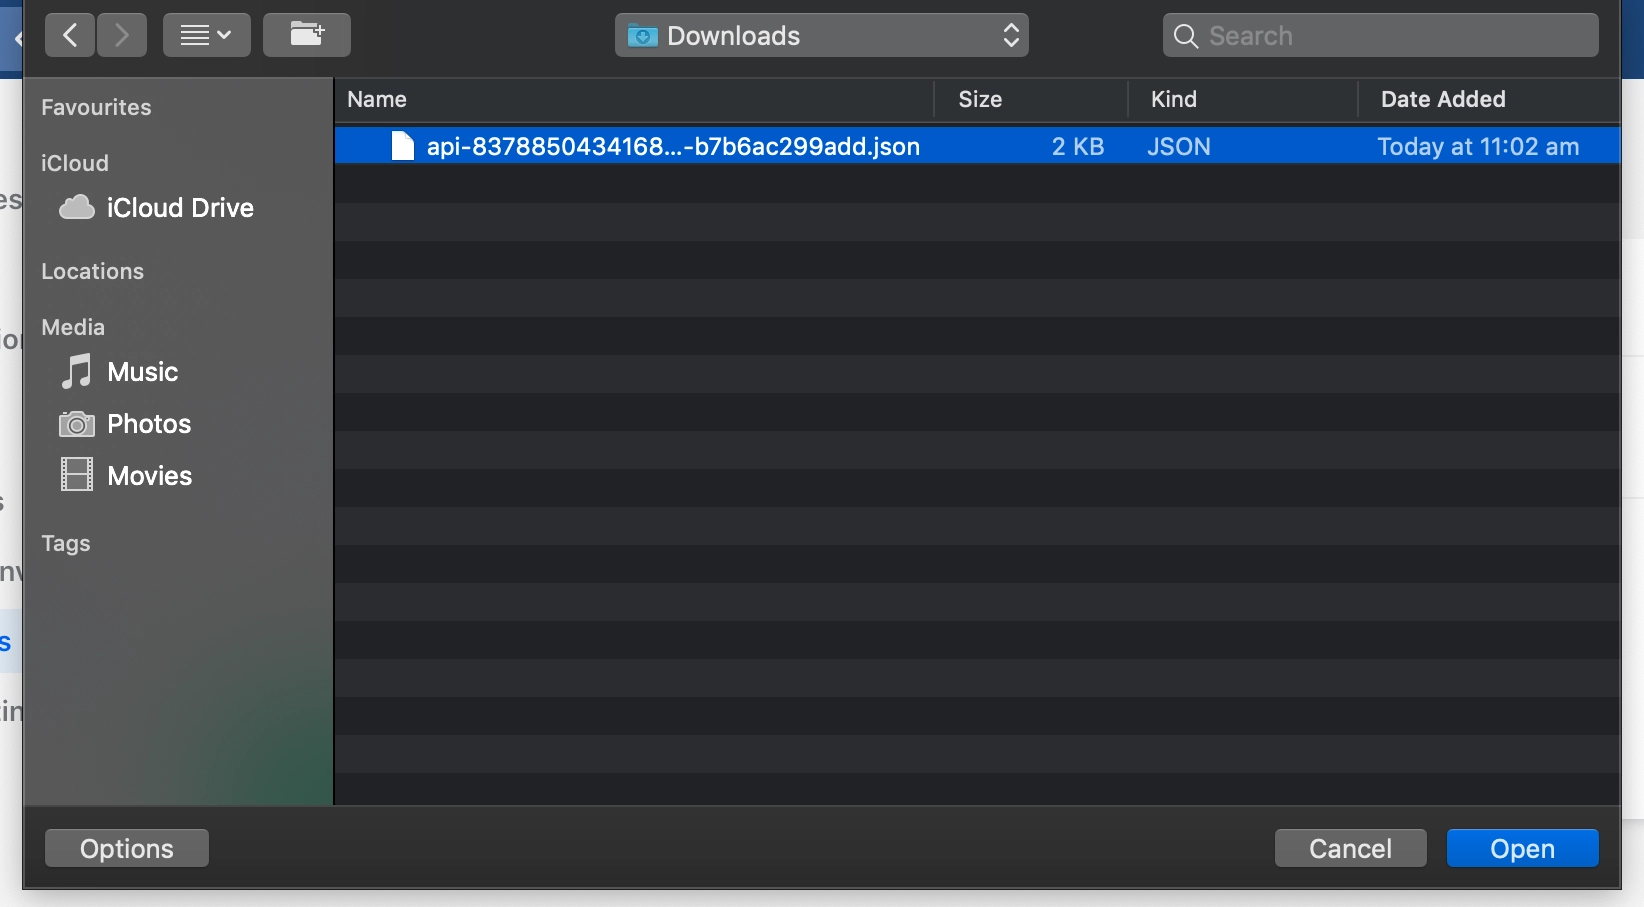
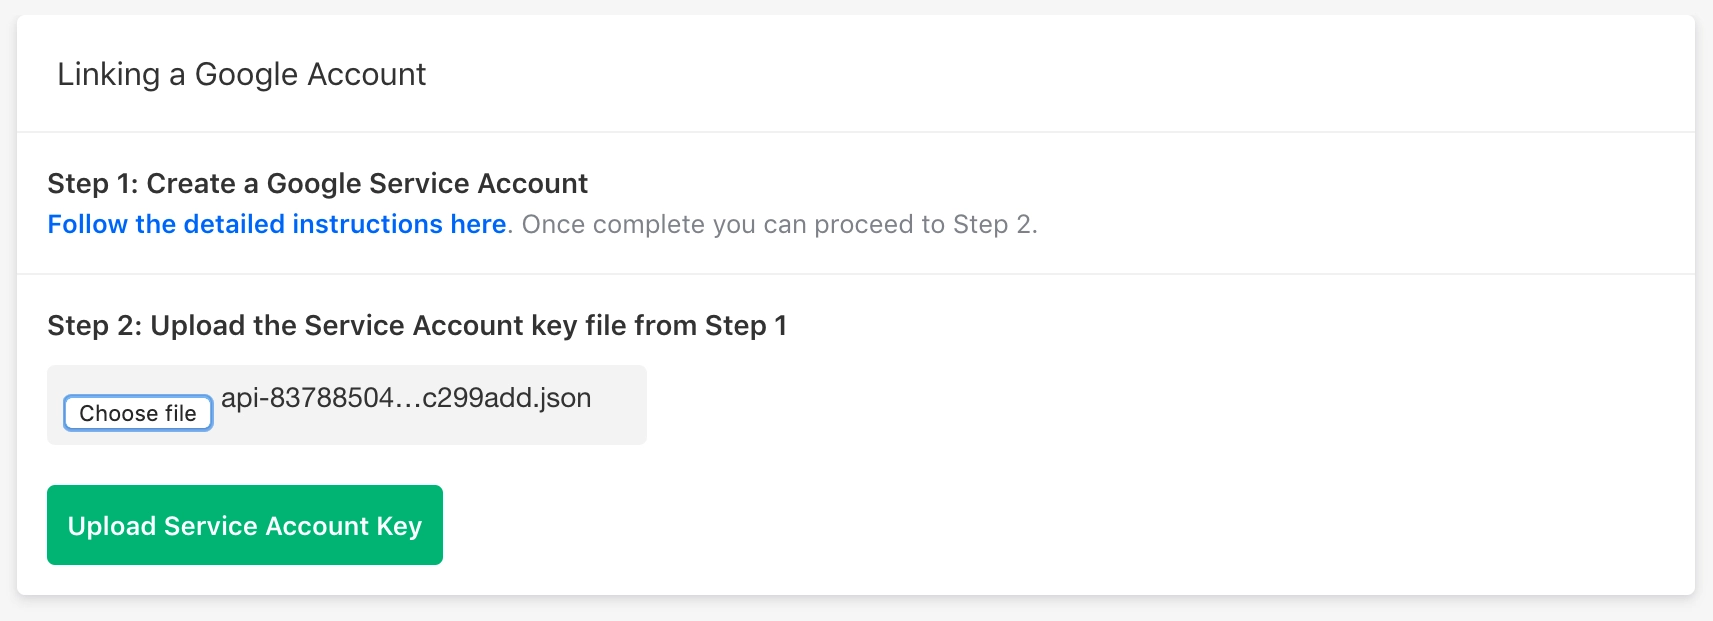
Click Choose File
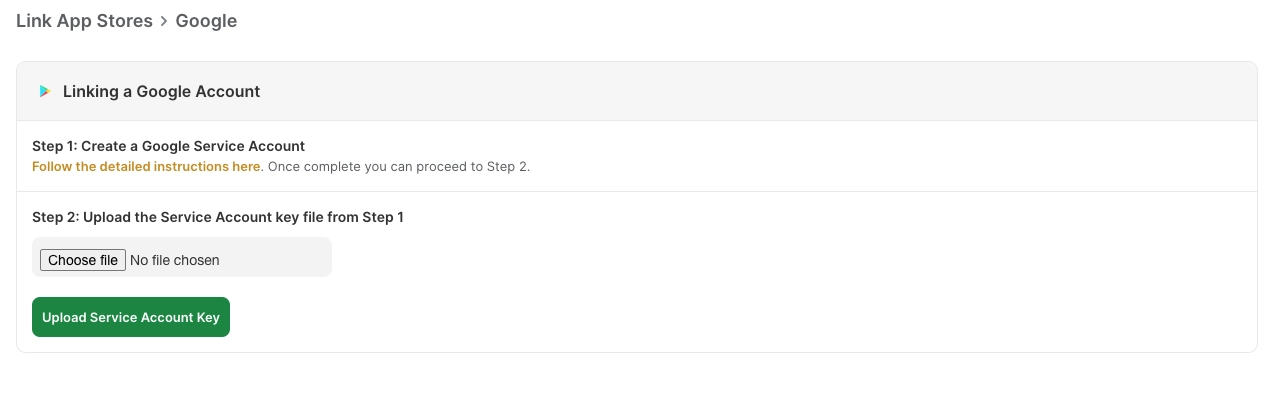 Then, select the private key that was downloaded in Step 8.
Click on the Upload Service Account Key button.
13. Cloud Storage URI
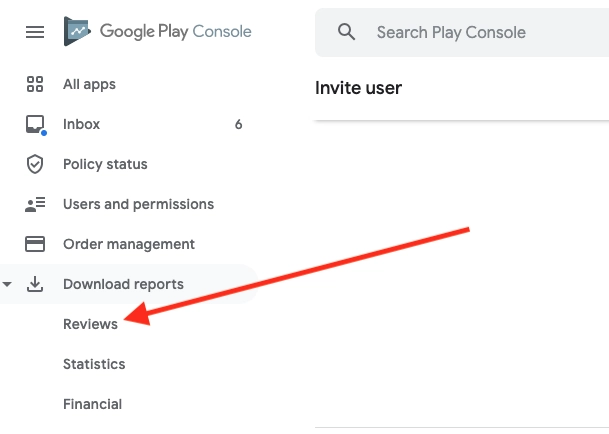
Head back to your Play Developer Console and navigate to Download reports from the left menu. Click into Reviews and select your app from the right.
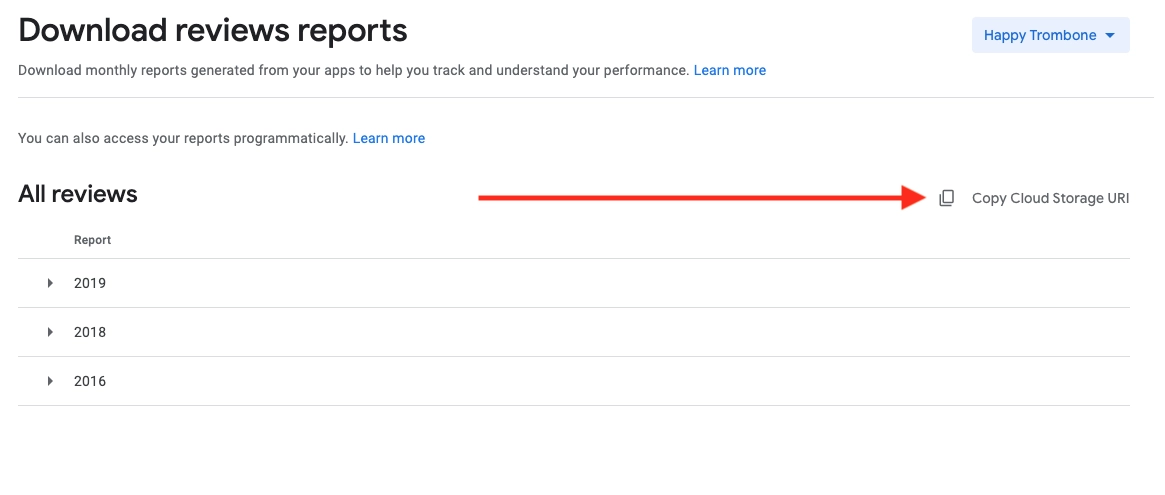
Click on Copy Cloud Storage URI.
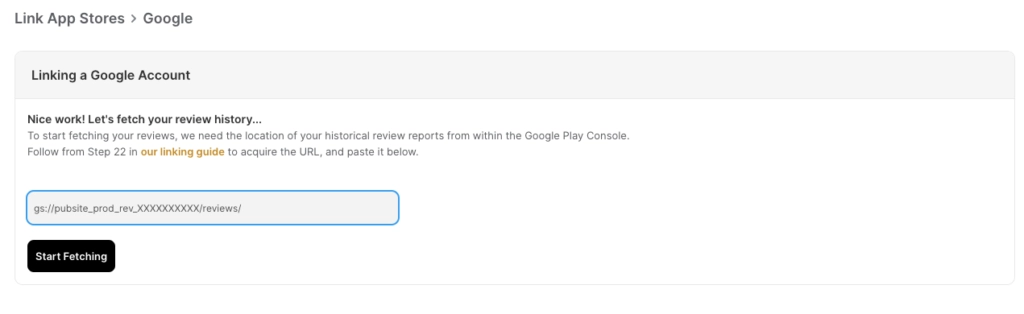
14. Paste URI
Back in Appbot, paste the URIs you just copied in and press Start Fetching.
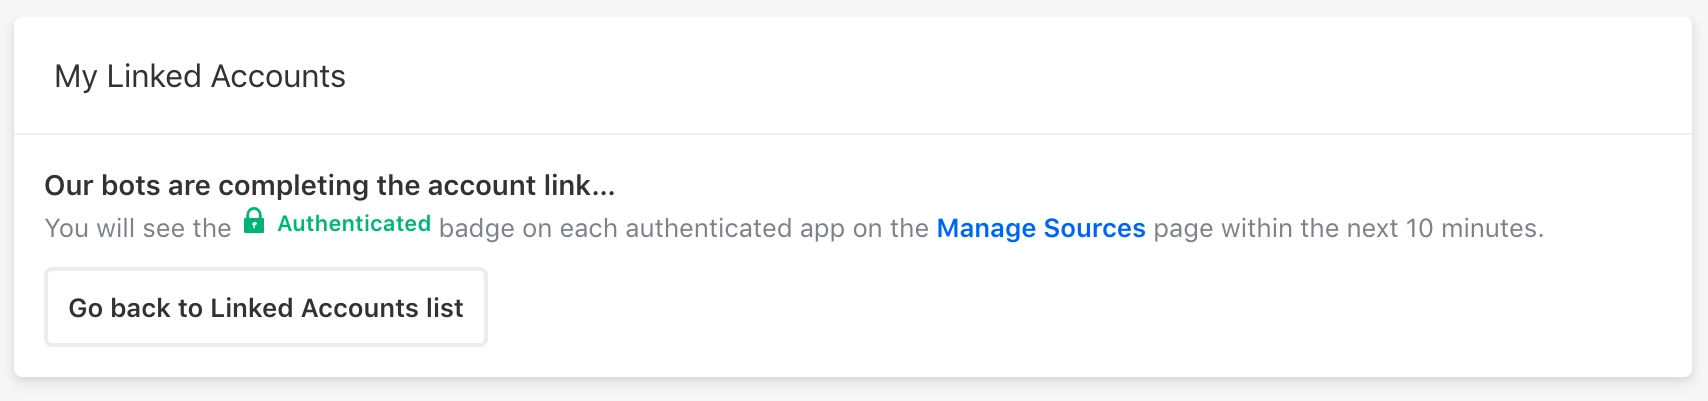
Once it’s loaded you’ll see a message saying “Our bots are completing the account link” and you should see the Authenticated badge on each authenticated app on the Manage Sources page soon.
15. Enable replies in Appbot
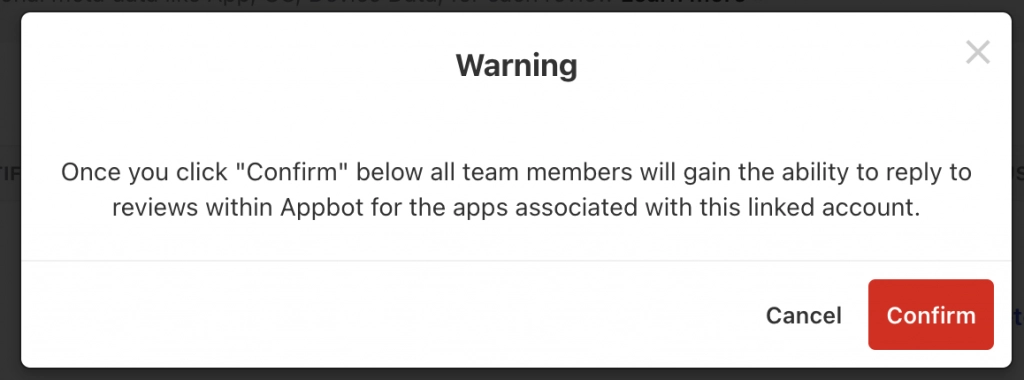
Back on the Linked Accounts list press on Enable Replies next to the Google Service you just added.

16. Testing replies in Appbot
Check your connection to the Google Play Store by heading to the Reviews page. If you have configured the connection to the store correctly you will see the option to Reply to Review as shown below:
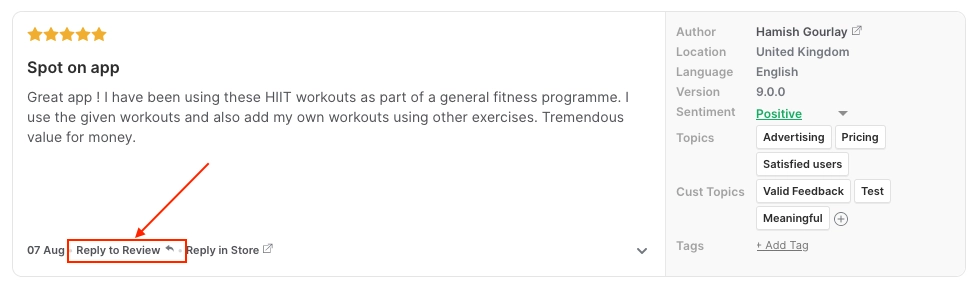
If you do not see the Reply to Review option go back and carefully review each step in this document from Step 1, to ensure you have connected to the store correctly.
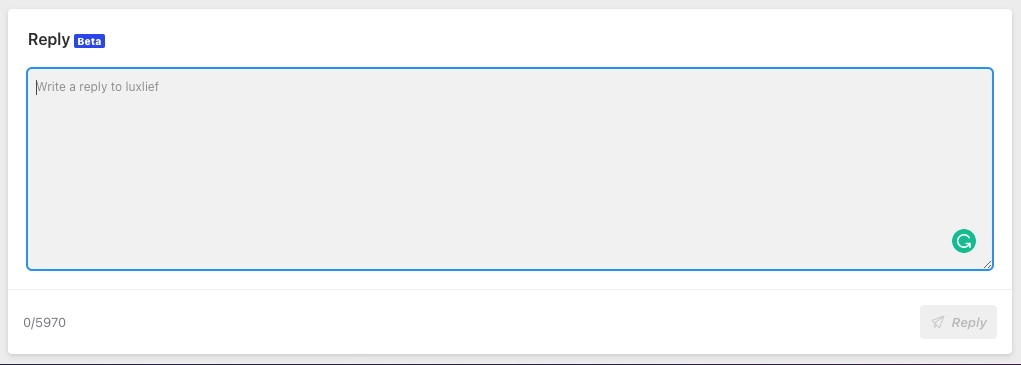
When you click on Reply to Review the review thread will open with the input field shown below at the bottom of the page. Input the reply that you want to leave to the review in question, and then click the Reply button, bottom right corner.
17. Done!
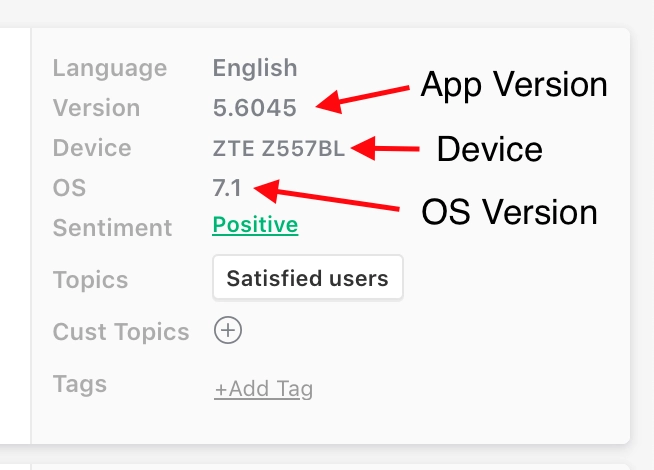
Once the new data is fetched you can navigate to the Reviews Page. You will now see extra metadata on reviews for App Version, Device and OS Version.
Adding Replies To An Existing Linked Account
1. Log in to your Google Developer Console account, choose API access and then Manage Play Console Permissions on your service account.

2. Select Account permissions.
 3. Enable Reply to reviews and click Save changes.
 4. Go to step 19 above to enable replies in Appbot.
If you need any further assistance on linking the Google Play developer console, don’t hesitate to contact us with any questions or check out our FAQ section here.
Who Can Access This Data?
The data collected under the authenticated Google Play app (the version with the green padlock) can only be accessed by users associated with teams that have a linked Google Play Developer Console account associated with that app connected to their team.
Troubleshooting
If you’re having trouble connecting your Google Play Console account to Appbot, please refer to the support article on Common Linked Account Problems.