How to create custom email app review alerts using Appbot’s Zapier Integration
Appbot offers several different native email alert options for your app reviews, but we know that sometimes teams want to build a system of custom app review alerts based around more specific, flexible criteria.
Setting up your own custom email alerts using Appbot’s Zapier integration is easy, and makes it possible to configure email alerts based on the star rating, app version, keywords, and much more. Some popular examples are:
- Get an alert for every 1 or 2-star review
- Email only reviews matching a specific keyword or phrase
- Get an alert about reviews that match a specific Appbot Topic, or a Custom Topic you created
Zapier also lets you Cc or Bcc colleagues on the alert emails you create.
In this help guide, we’re going to show you how to make a custom app review alert that will notify us via email every time our app gets a 1 or 2 star review.
Sign up for a trial to try creating custom email alerts via Zapier!

Creating custom app review alerts via Zapier is easy
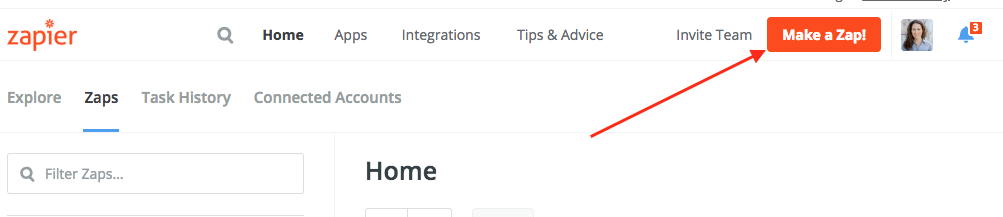
- Log in to your Zapier account and hit “Make a Zap” at the top of the page in Zapier.

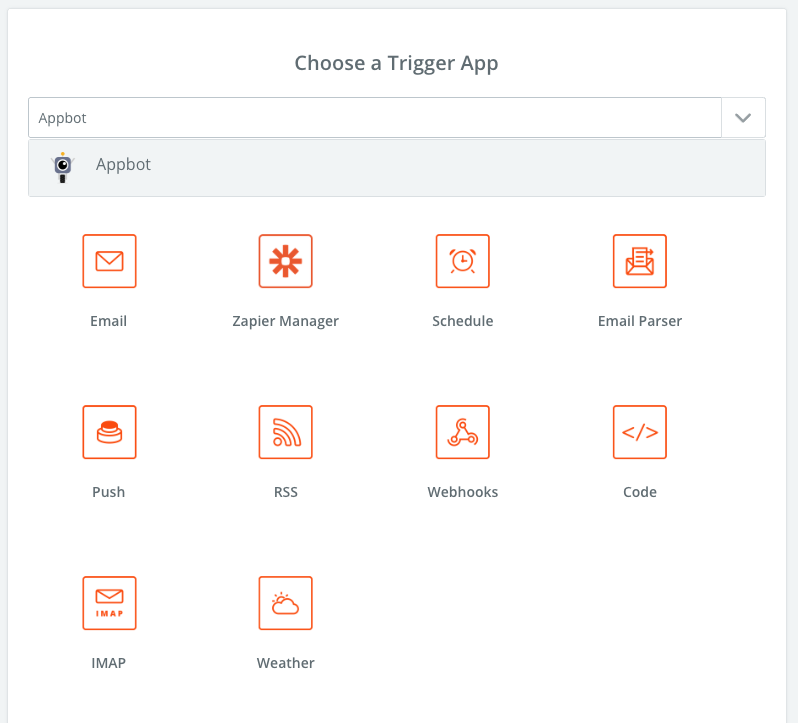
- Choose Appbot as the Trigger App.

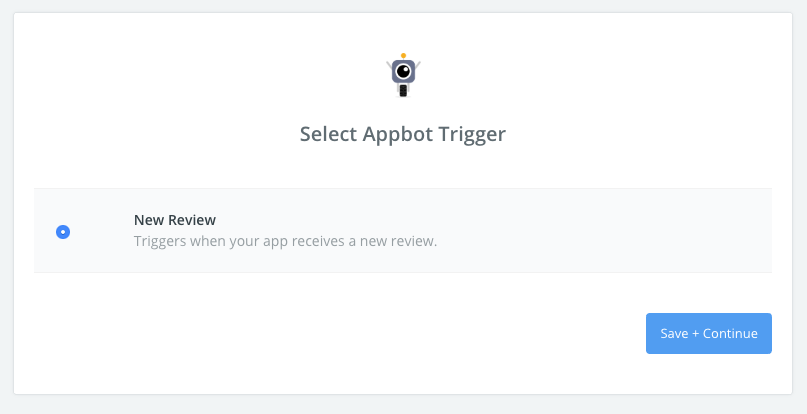
- You’ll see “New Review” selected as the trigger, automatically. Hit ‘Save and Continue’.

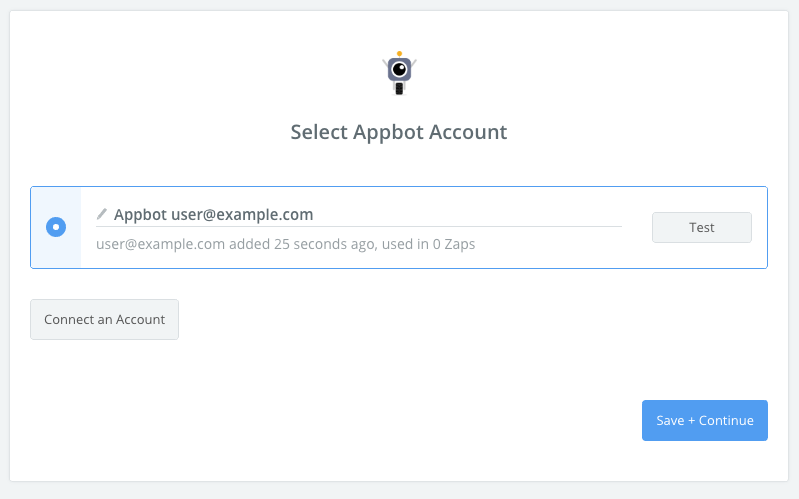
- You will be asked to connect your Appbot account. Click the “Connect” button to proceed.

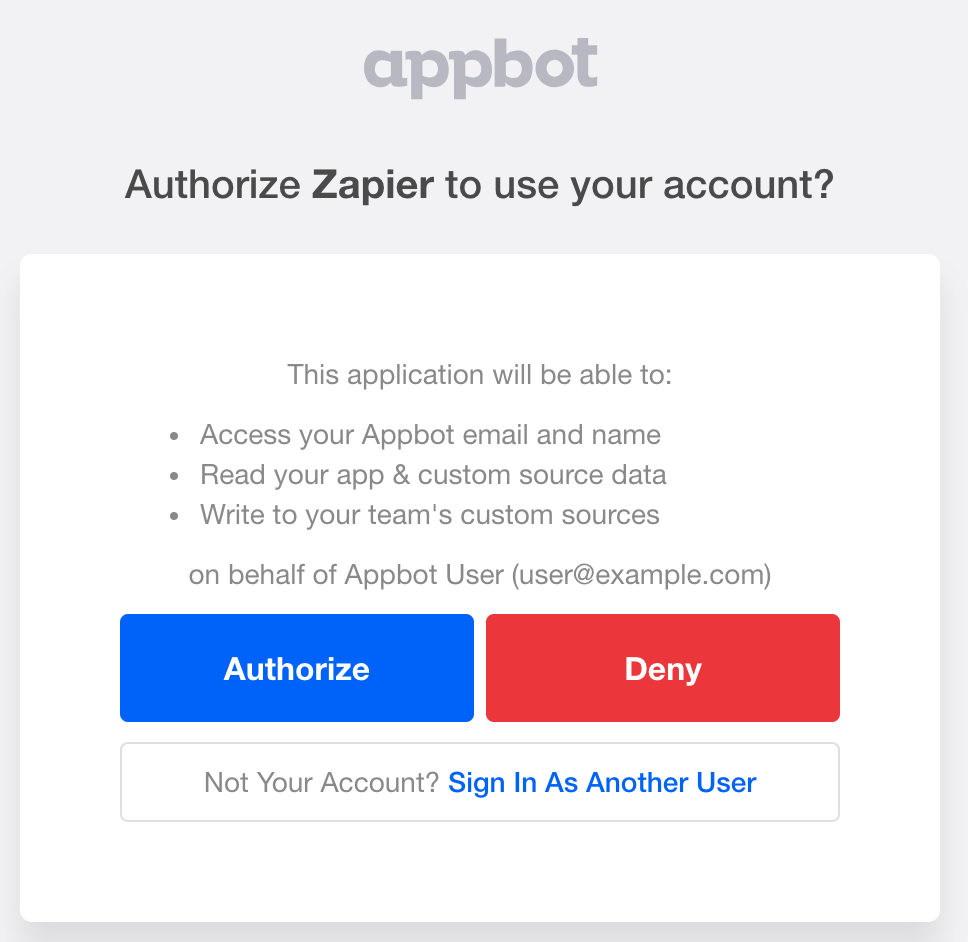
- In the popup, if you are not signed into Appbot, you will be asked to sign in. Once you are signed in you will be prompted to authorize Zapier to access your account data. If your account is not the one listed, click the “Sign In As Another User” button and sign into the correct account.

- In the original window, Zapier should now indicate you have successfully linked your Appbot account. Choose “Save + Continue”.

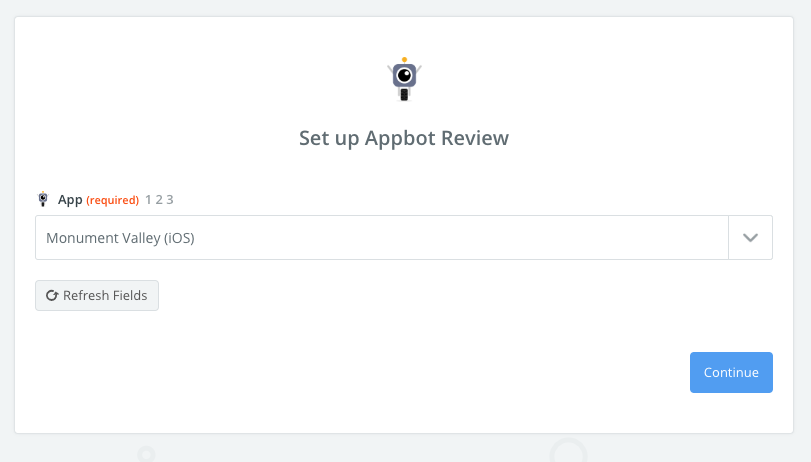
- You will now be prompted to select an app whose new reviews will be passed to the Zap. Click the dropdown button.

- A list of your supported apps will appear, please select the app you wish to use. If the app you want is not in the list, ensure you are tracking the app. To reload the list once you have tracked a new app, select “Check Appbot (1.0.0) & reload to bring in new choices.”
- Once you have selected an app, choose “Continue”.

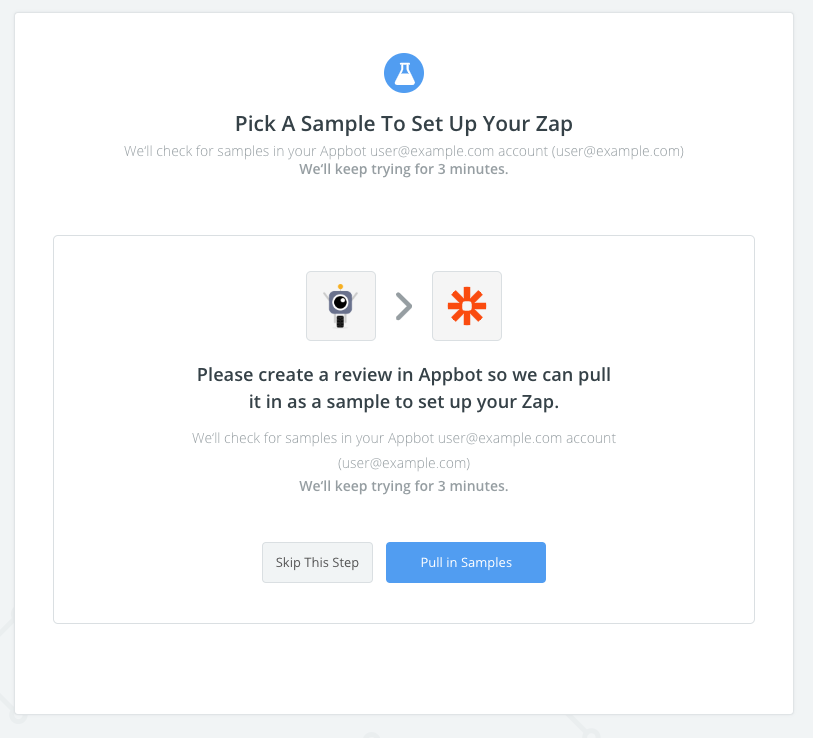
- Zapier will now fetch the most recently fetched review for your app to use as an example while configuring the Zap. Choose “Pull in Samples”. Note: You must have at least one review in the selected app to proceed.

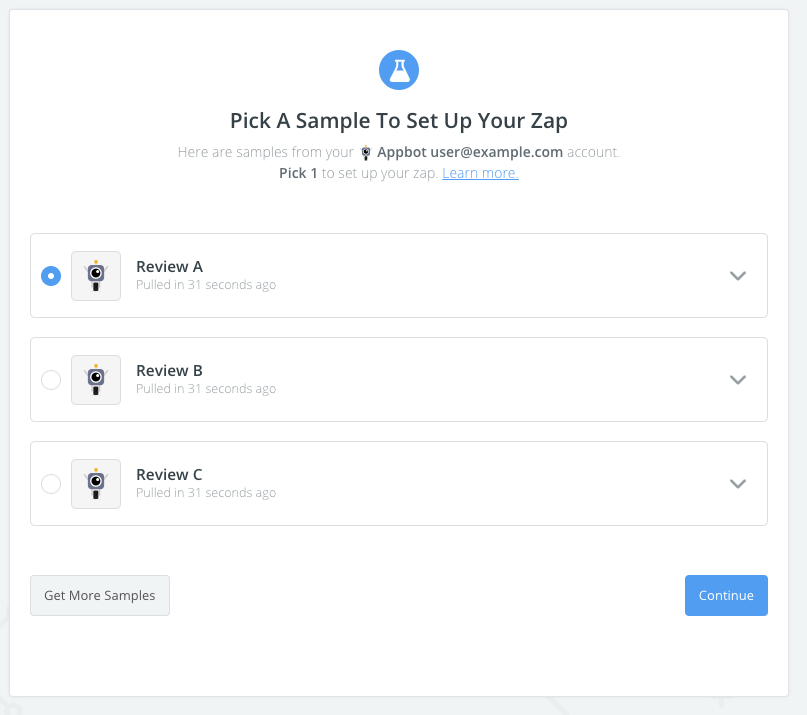
- If the test is successful, Zapier will indicate this. You can view the format of the review data your Zap will have access to by clicking the “view your review” button. Otherwise, click Review A and then “Continue”.

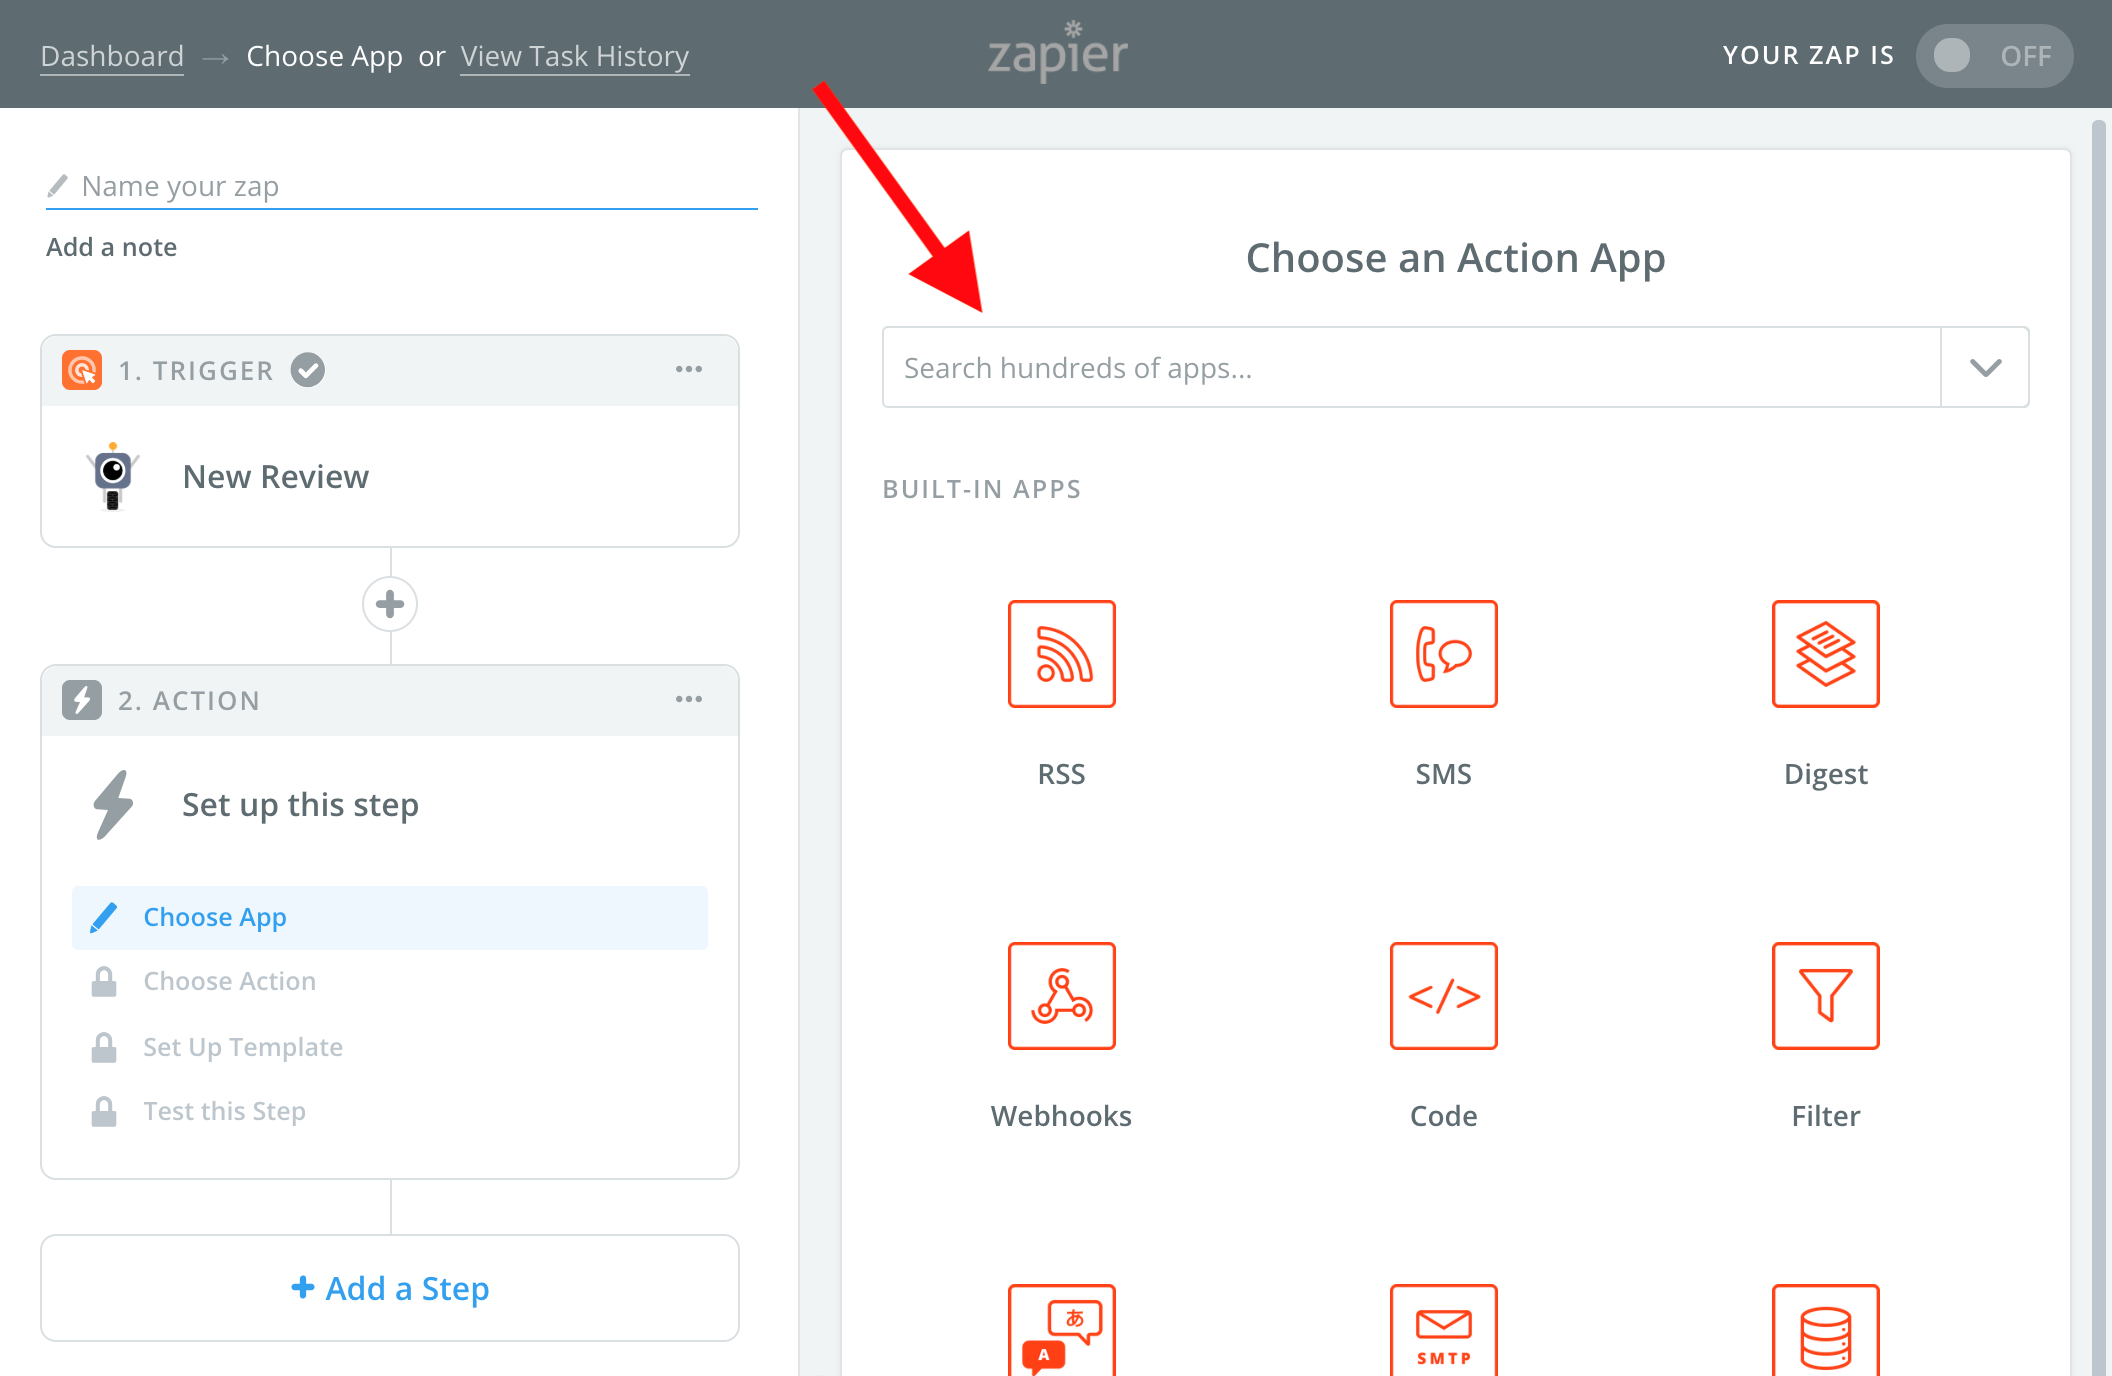
- You have set up the Trigger phase, now you must select a Zapier action. Click “Add one now!” to proceed.

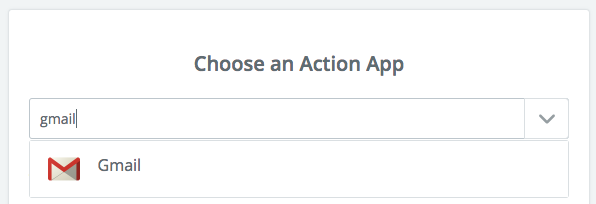
- Choose the action you wish to connect to your Appbot reviews. Any Zapier action is supported, but for the purposes of this guide we have chosen Google Sheets.


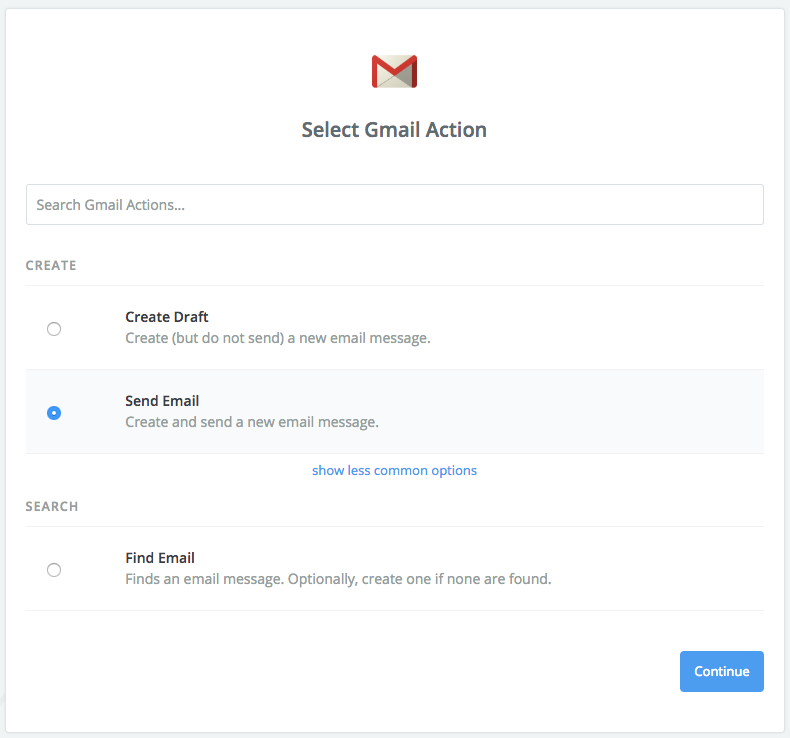
- Select the relevant trigger from your chosen Action App. We want to be alerted as soon as Appbot finds a review that matches our criteria, so we’ll choose Send Email.

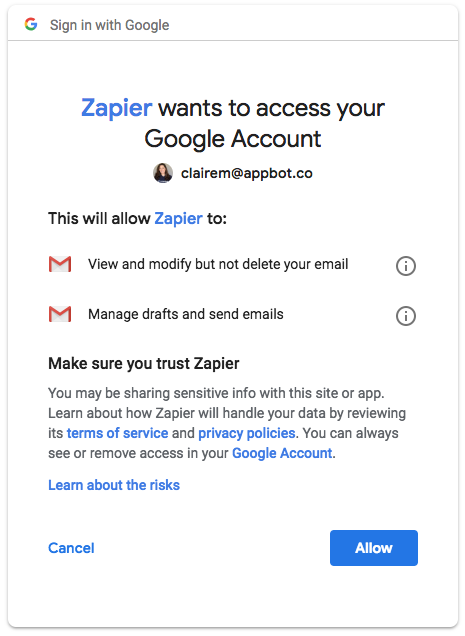
- Connect the Gmail account that will be used to send the email alert by clicking Allow in the pop-up window.

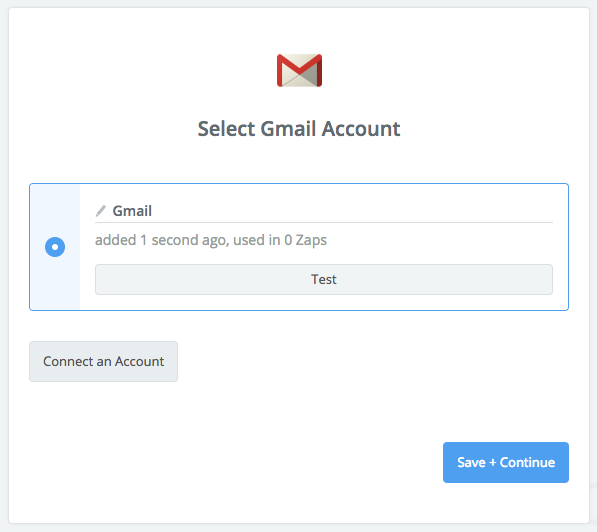
- Then hit Save + Continue. Feel free to send a test first if you want to double check it’s connected!

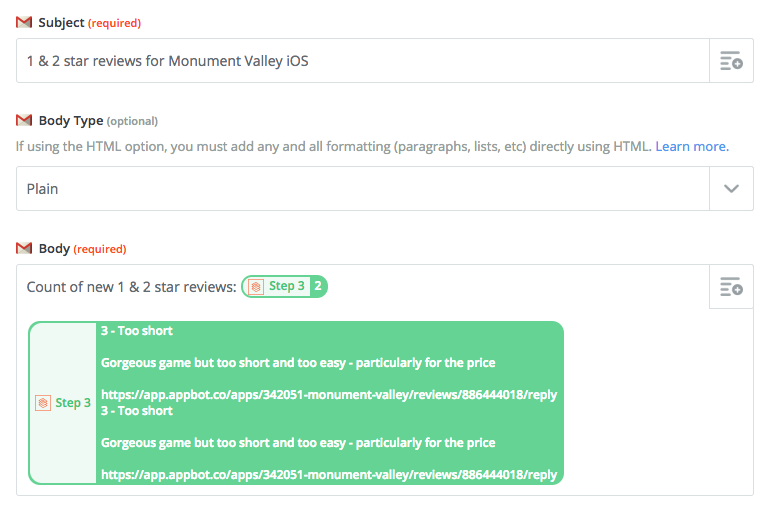
- Next, tell Zapier what you want the Gmail app to send you, for example:

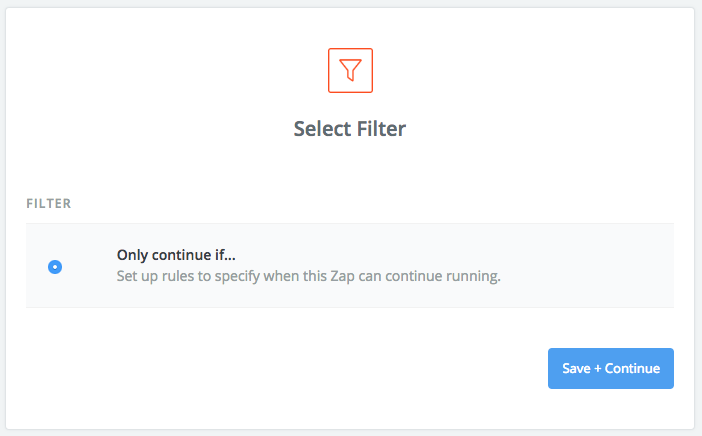
- Now we need to set up our filter, so we only get reviews that match our criteria in our review alert emails. Hit the (+) between the Trigger and Action in Zapier’s left pane, then choose Filter.

- Hit Save + Continue on the next step.

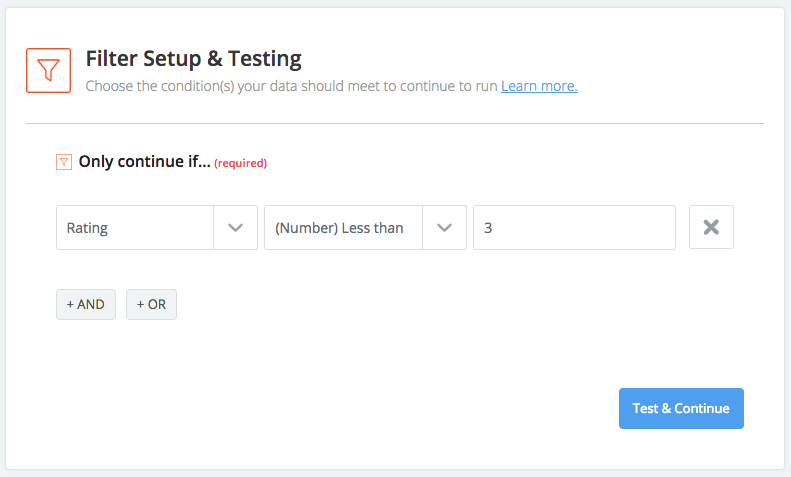
- Then choose the filter conditions you want to use. In this case, we’re creating a simple alert for 1 & 2 star reviews, but you can also use the And and Or buttons to add more filter conditions that narrow the results further. For example, you might only want to include reviews that match a certain Appbot Topic. Hit Test & Continue once you are happy with the conditions you’ve selected.

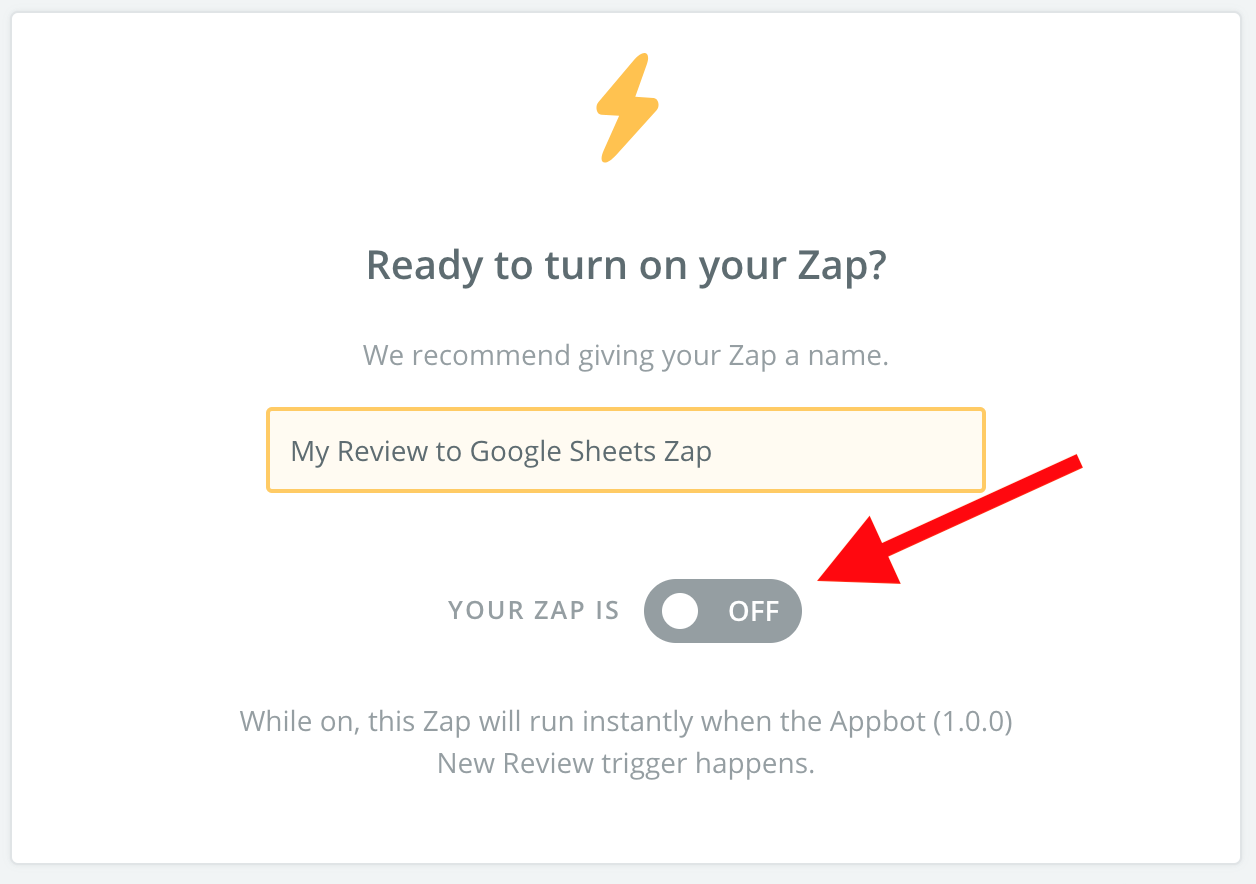
- Give your Zap and name and switch the “Off” button to “On” to turn the Zap on.

- If you see the success screen, your Zap is now operational!


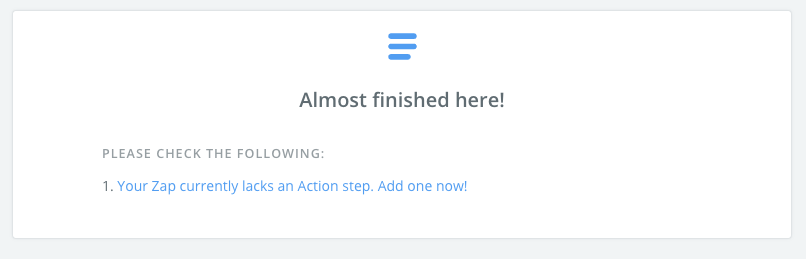

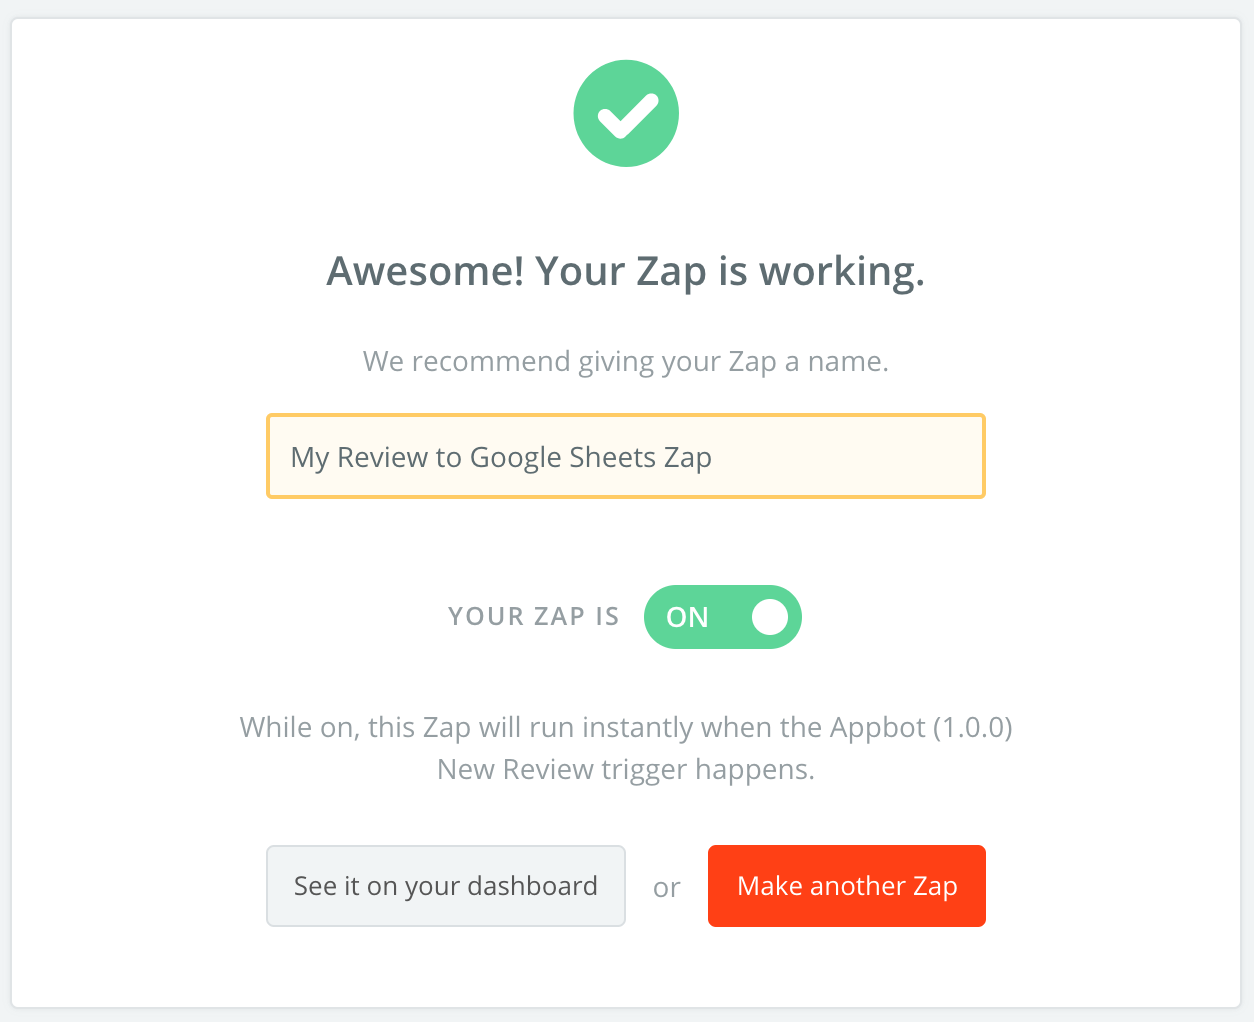
Next time the app you selected receives a 1 or 2 star review, you’ll get an email via Gmail!
You can also create custom app review alerts that send you all the matching reviews once a day, rather than every time a matching review is found. To do this, you can use the Zapier Digest feature.
Helpful? You may also like our other article on review alerts.