Appbot’s scheduled reporting lets you configure custom dashboards to be delivered straight to your inbox as a beautifully formatted PDF report. These dashboards are easy to set up and customizable, so you only see the data that is relevant to you. You can choose to have the reports sent each week or each month.
To set up scheduled reporting, you first need to build a Dashboard with all the widgets you want your report to contain.
Find our guide on how to set up a Dashboard here.
Once you have your dashboard setup, all you need to do is choose when you would like the dashboard emailed to you as a PDF.
Setting Up Scheduled Reporting
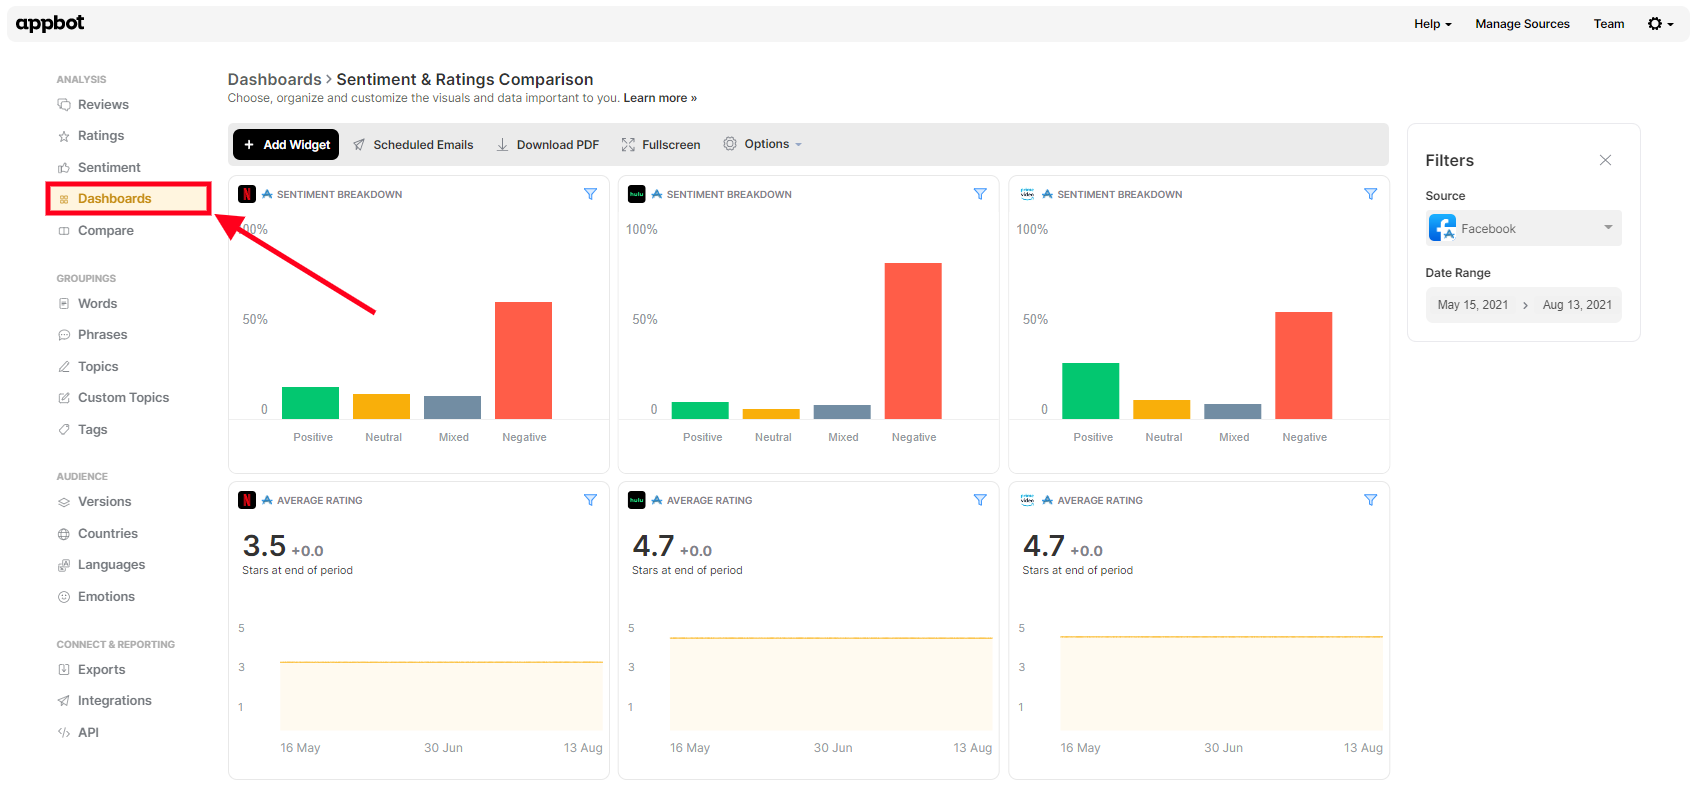
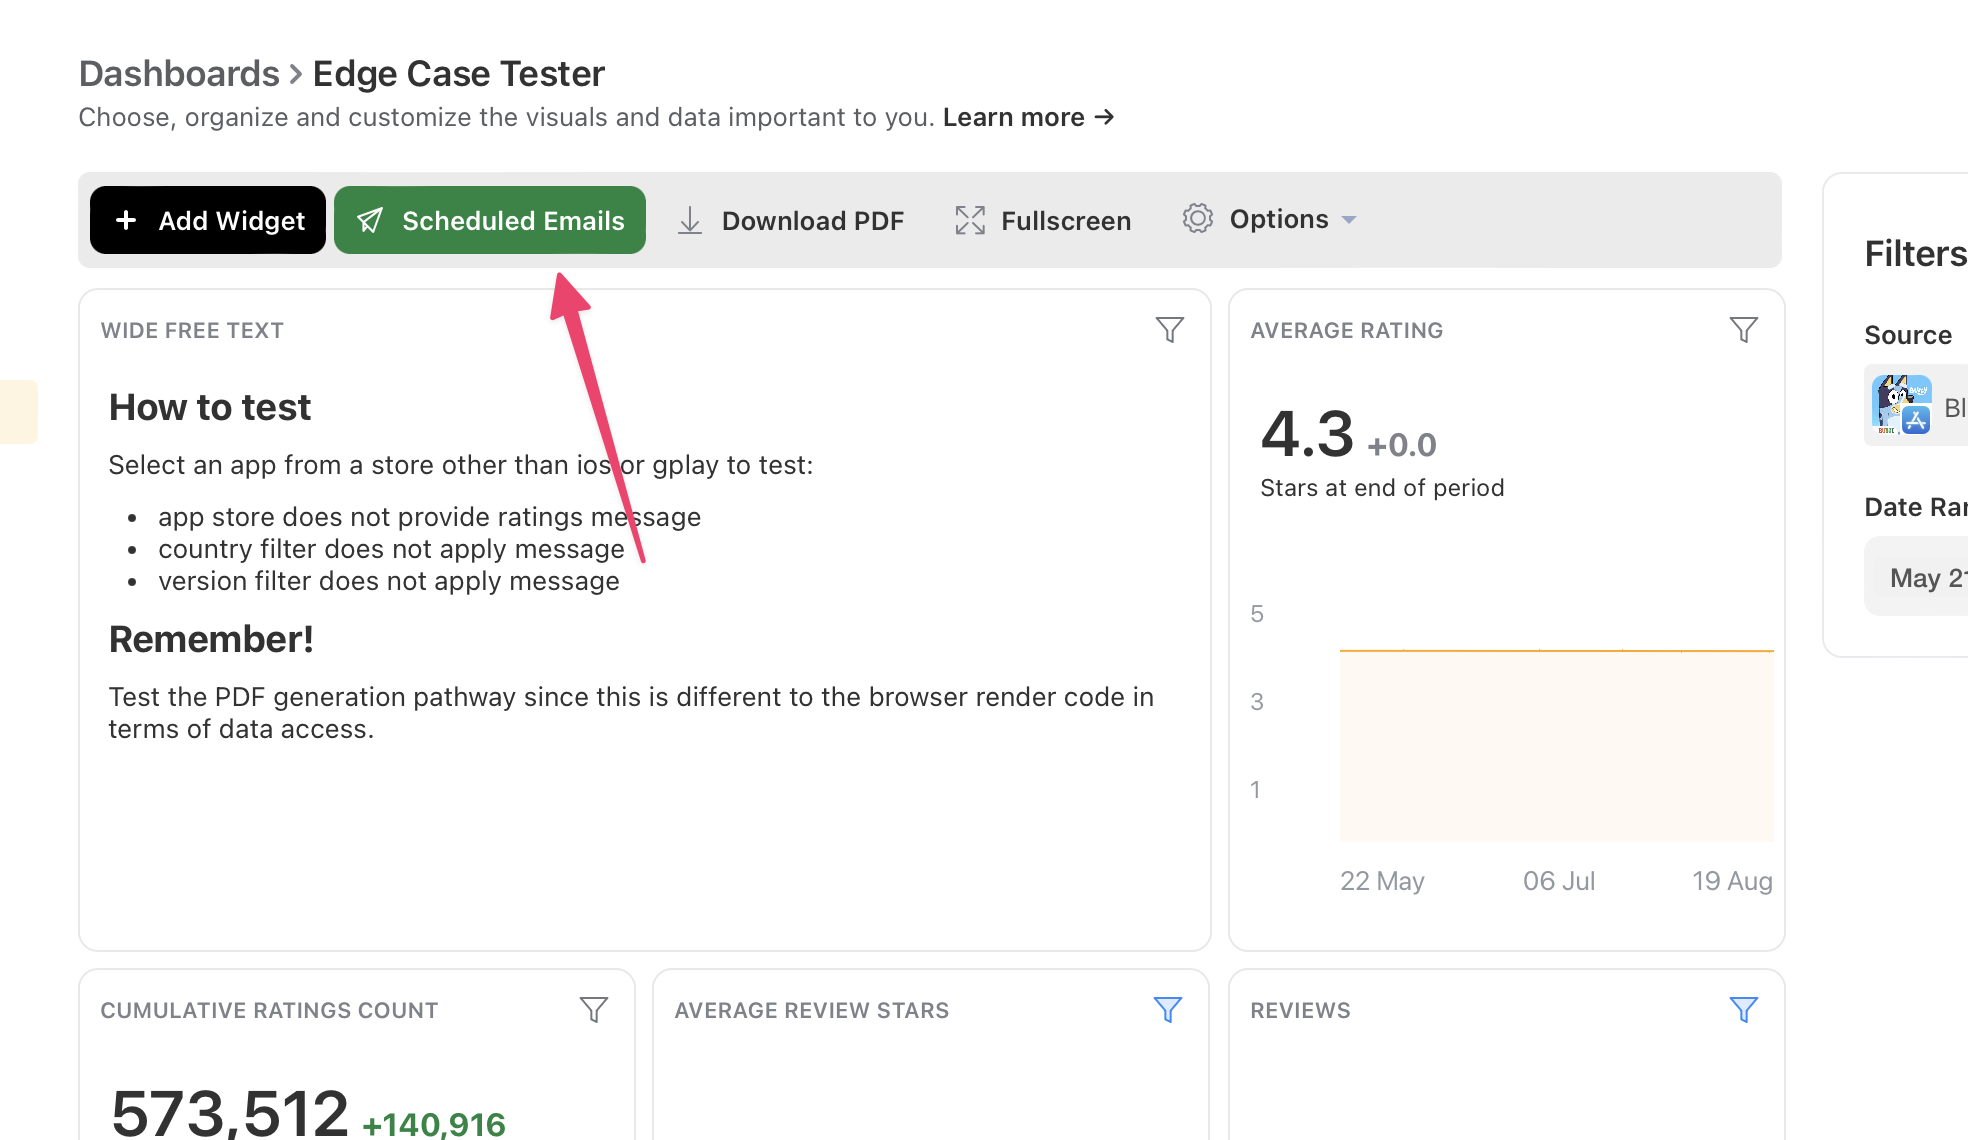
- Navigate to your Dashboard tab under the main navigation menu.

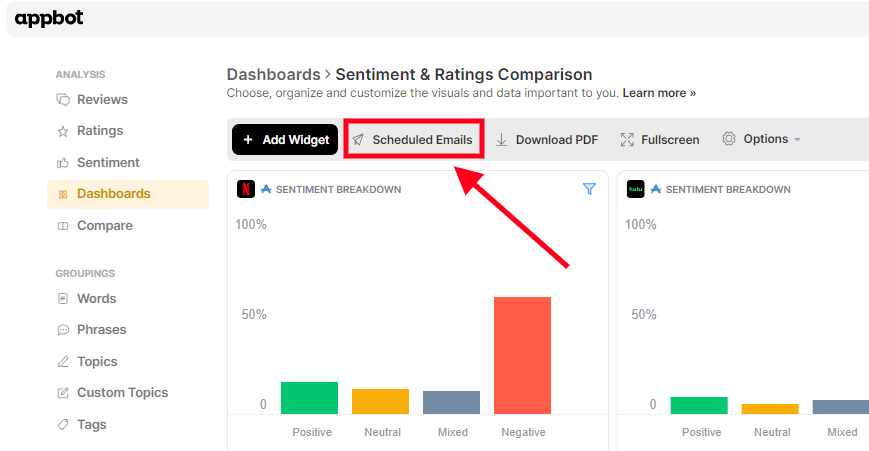
- Press the ‘Scheduled Reports’ button at the top of the screen to set scheduled reporting.

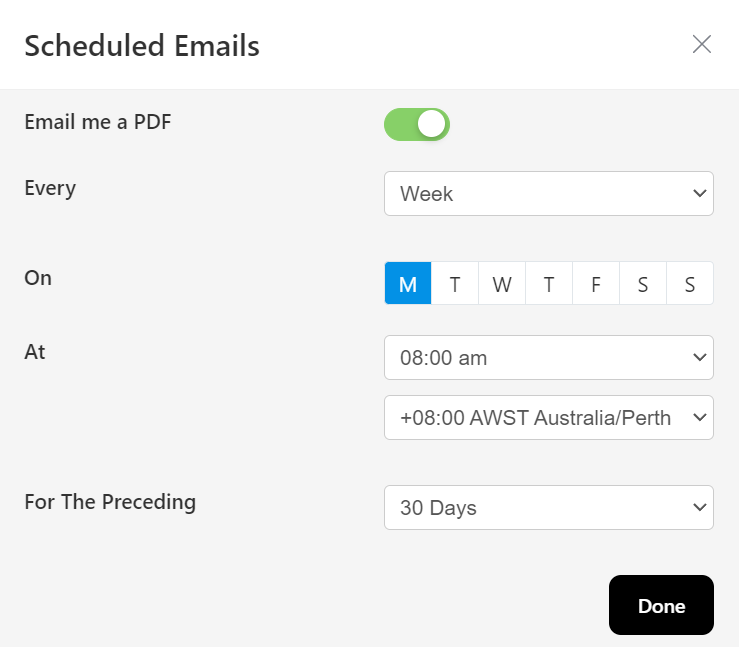
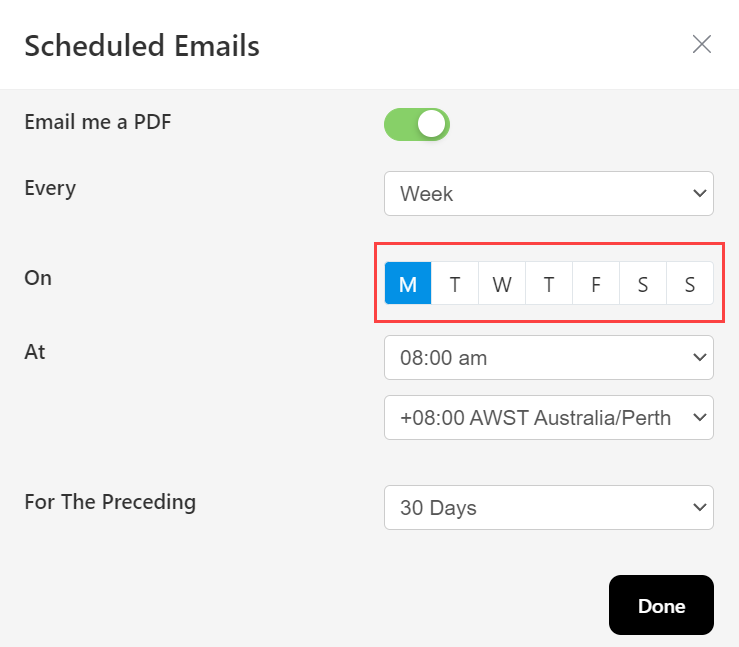
- Toggle the ‘Email me a PDF’ button at the top of the popup.

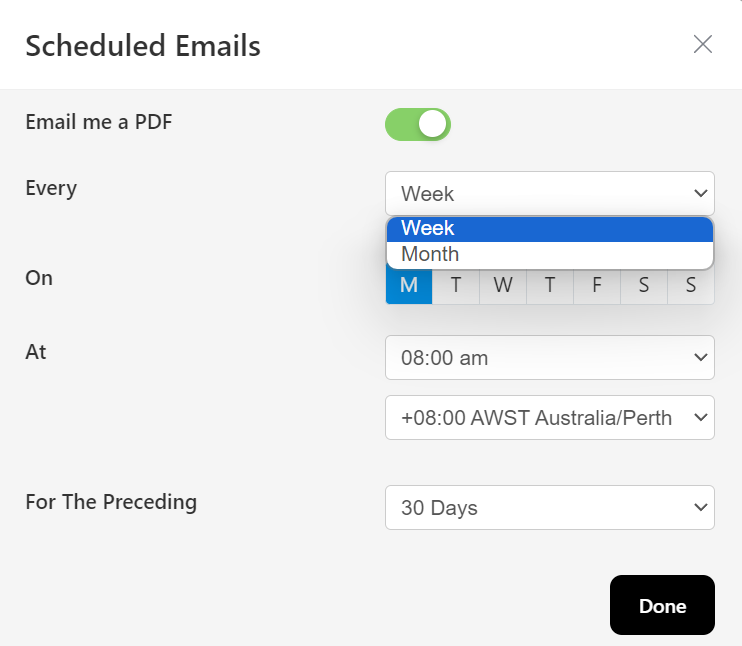
- Choose if you would like the report to be sent weekly or monthly.

- If you choose monthly, it will send the Dashboard report for the proceeding calendar month on the first day of the month. You can choose the time and timezone.

- For weekly reports you can choose which days of the week you would like a report emailed to you. You can select multiple days if you chose.
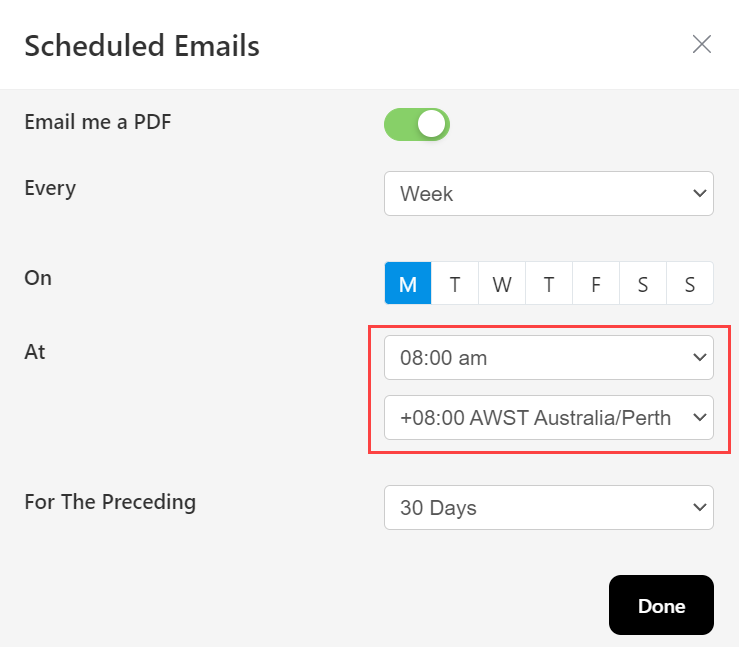
- Select what time of day you would like to receive those reports (and double-check the timezone below is correct).
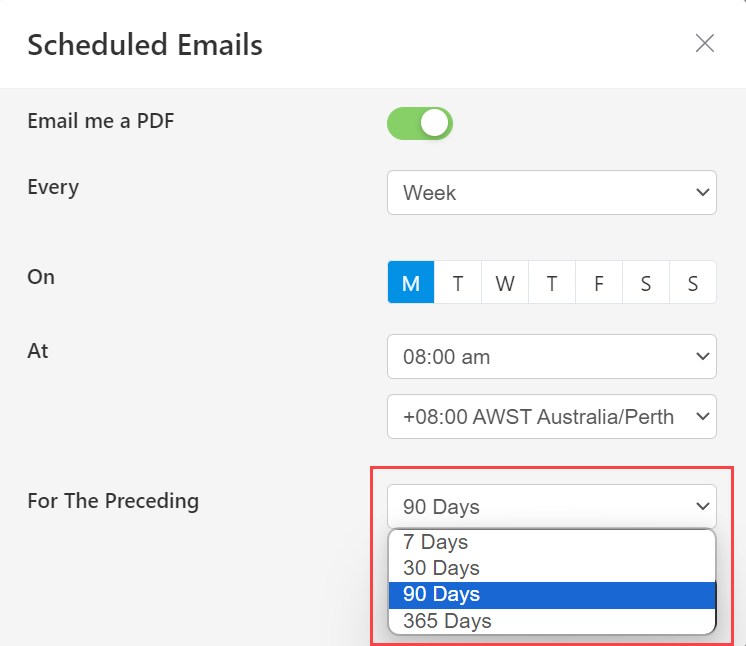
- Choose what time period you would like the report to show data for, 7, 30, 90 or 365 days.

- Press ‘Done’ and you are all set.
- You will be returned to the Dashboards page and the Scheduled Emails button will be green.

- You’ll receive a PDF of your dashboard report in your inbox on the date and time that you chose.

Reports For Multiple Apps
If you want to schedule reports for multiple apps, simply change the app you’re viewing and go through the procedure again.
If you need any further assistance setting up scheduled reporting, don’t hesitate to contact us with any questions or check out our FAQ section here.