Appbot makes it easy to send reviews to Zendesk.
Interpreting your app store reviews and understanding user sentiment is easy with Appbot. Appbot can also send your app reviews directly to Zendesk. Integrating Appbot with Zendesk can dramatically simplify your customer support process for responding to reviews.
Sending app reviews to Zendesk allows you to automate a large part of your review management/response workflow, with specific teams and team members getting automatically assigned new reviews that meet your criteria.
Once setup, we will begin pushing your important app reviews to Zendesk, with links to reply to your iOS & Google Play reviews.
You’ll need to sign up for an Appbot account to use the Zendesk integration. If you haven’t got one yet, sign up for a free trial to send app review to Zendesk.
Sending reviews to Zendesk
- To send app review to Zendesk, login to your Appbot account (click here for an account setup guide)
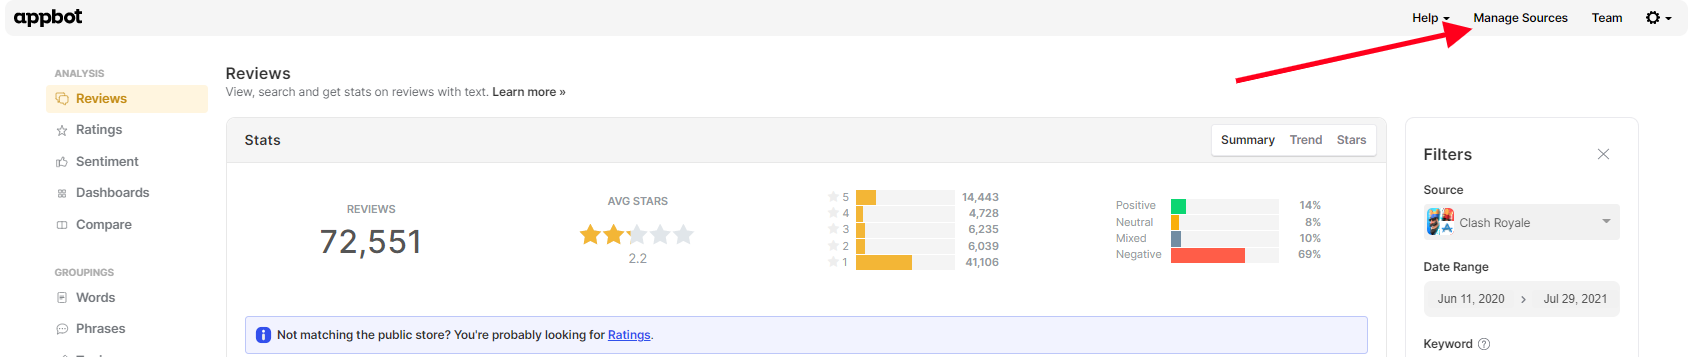
- Head over to the ‘Manage Sources’ tab.

- Find the app you want to set up the integration for in the list and check the Fetch Frequency setting. Choose Continuous if you want reviews sent as we find them, or Daily if you want your reviews pushed to the service in a single daily batch. Hit the (+) button under the ‘Integrations’ column for any of your apps.

- Select ‘Zendesk’ from the options and press on the blue ‘Add Integration’ button.

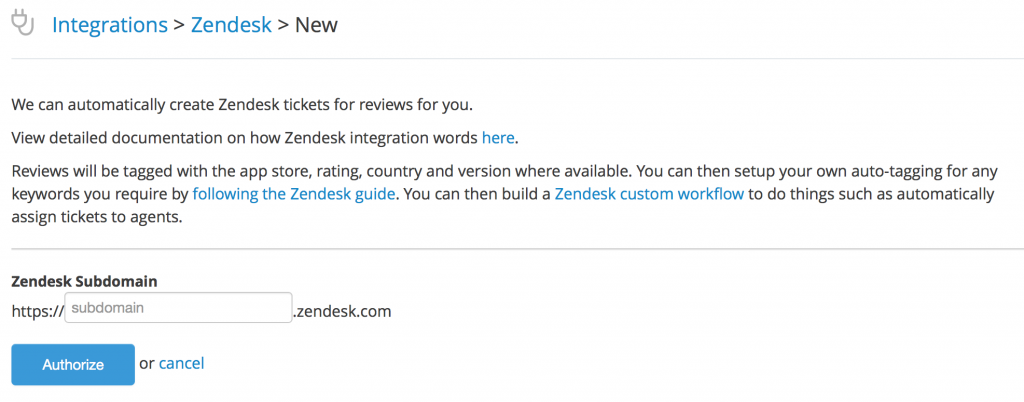
- Enter your Zendesk subdomain and press ‘Authorize’.

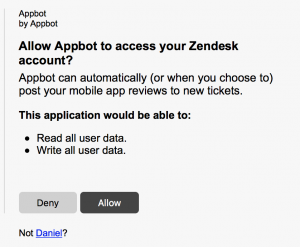
- Log in to your Zendesk account (if you haven’t already) and press ‘Allow’.

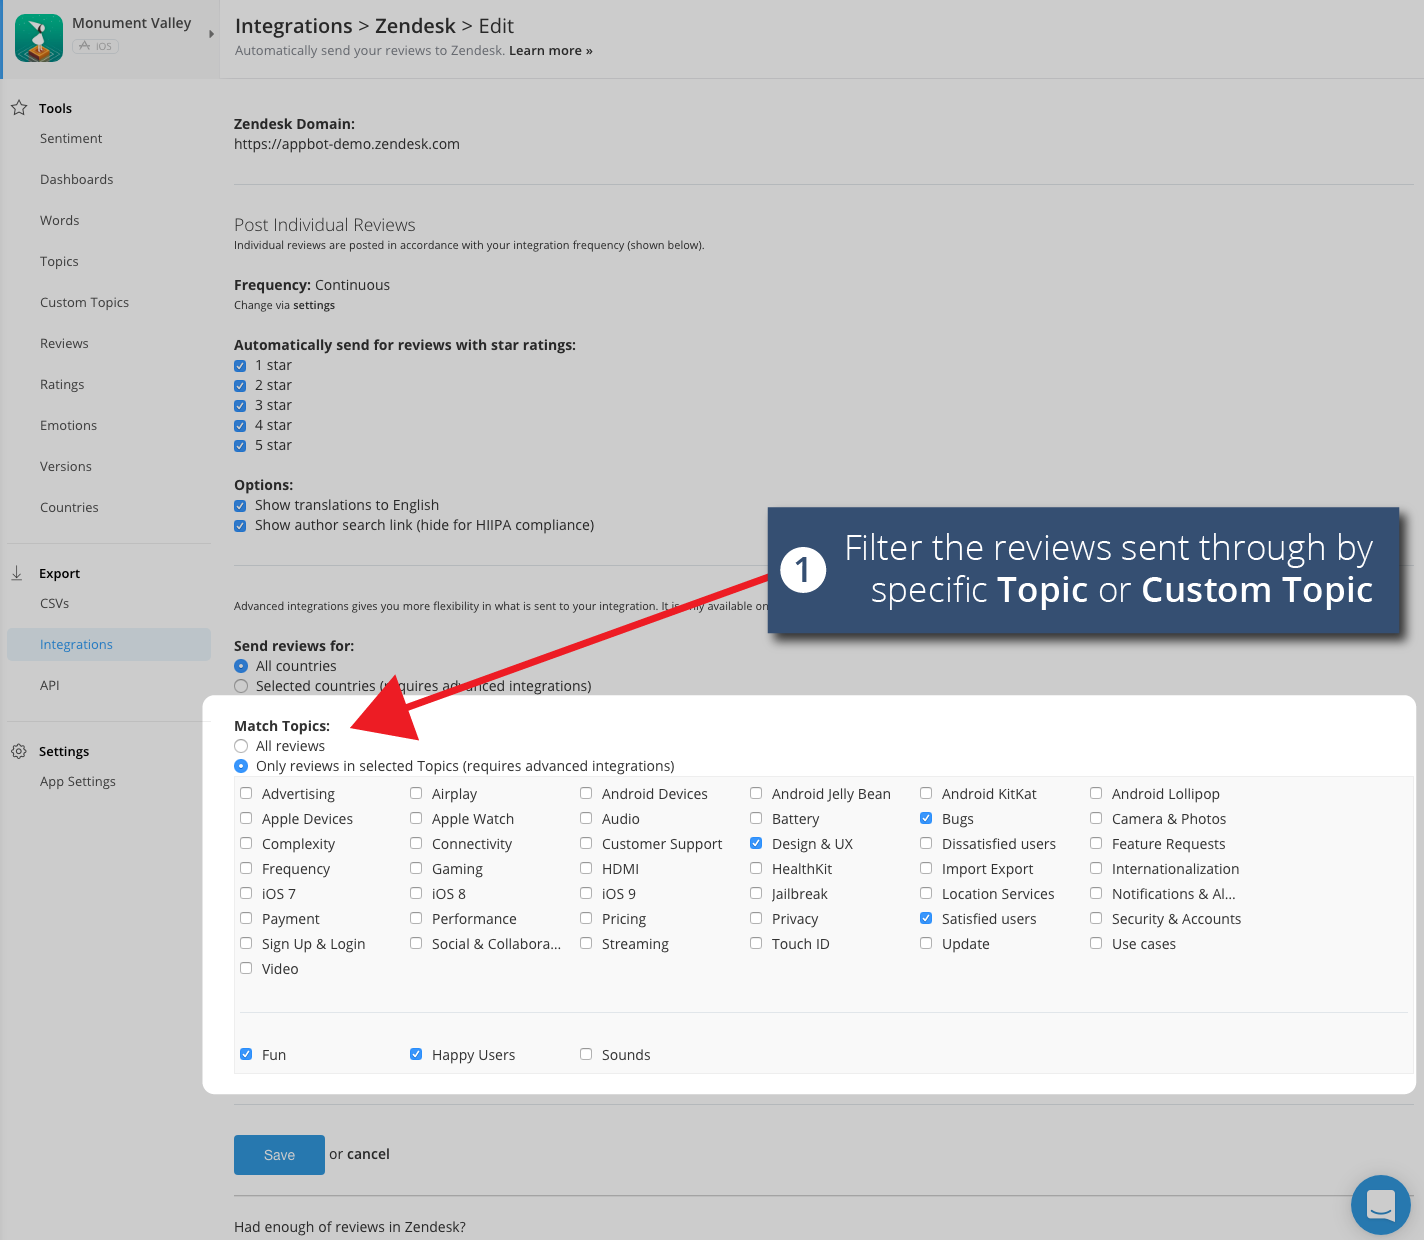
- Now you can set up which reviews you would like us to push to Zendesk and press ‘Save’.


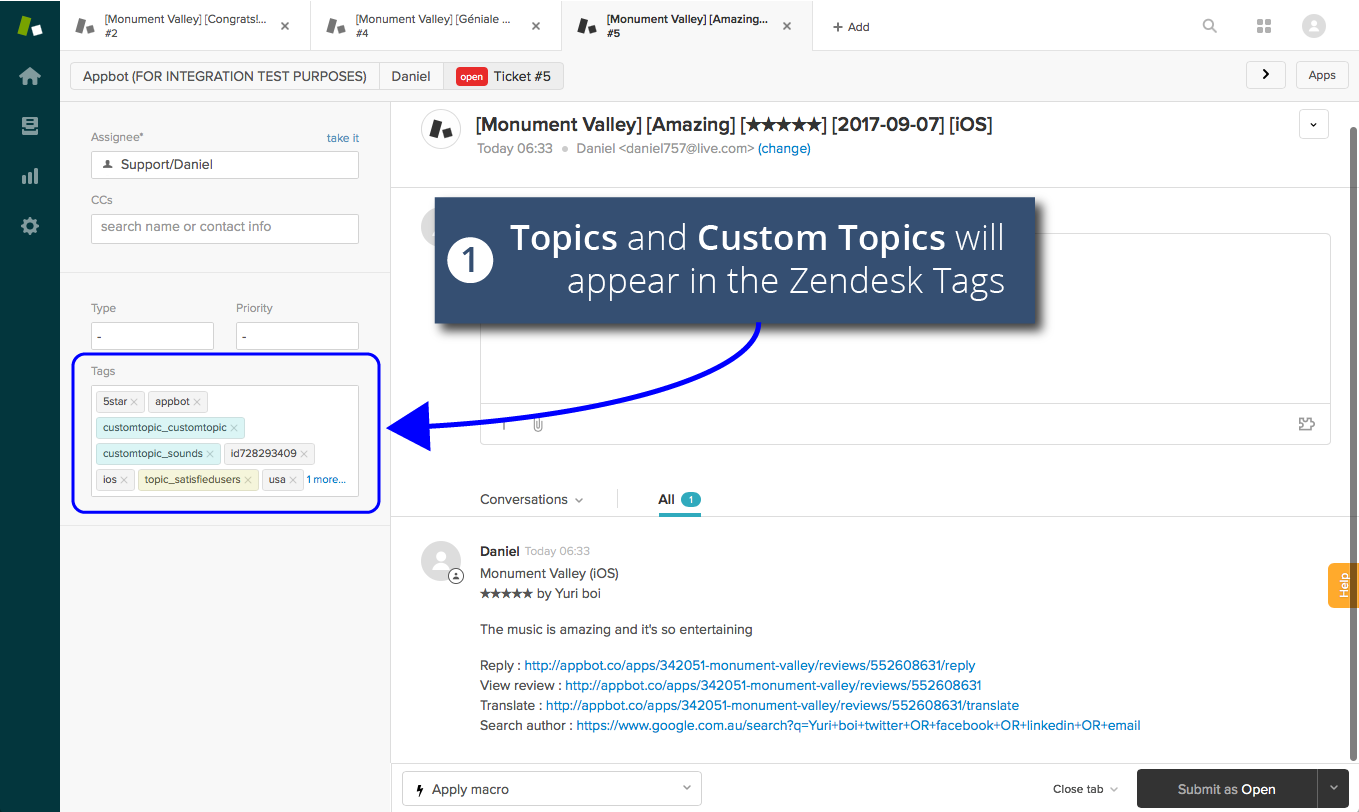
You can choose to only have reviews from certain Topics and Custom Topics sent through by
- If required, you can set the Requestor Email at the bottom of the form:

- Congratulations, you’re all set up! The next time we fetch your reviews, we’ll post them to Zendesk.

Your reviews will also contain quick links to reply to your Google Play reviews.
Here’s how your reviews will look inside Zendesk
If your reviews don’t come through as expected, check within your Zendesk account for a filter that might be hiding them from you!
How do I create automated Triggers using Tags?
Firstly, make sure you’ve got auto-tagging enabled on your Zendesk account. This means Zendesk will apply tags that you’ve previously created automatically based on the words that are mentioned in your reviews. For example, if you’ve used the tags ‘bug’, ‘crash’ and ‘error’ in the past, Zendesk will look for those words and automatically apply the relevant tag to any reviews where those words are mentioned.
Go to the Admin panel by clicking the cog icon in the bottom left of the Zendesk screen. Then select ‘Triggers’ under ‘Business Rules’. You’ll see a page like this:

You can see how powerful this is – the options are almost endless.
For example, you could create a Zendesk Trigger for the critical words your Technical team are interested in, and auto-assign it to the Technical team.
To learn more about how Triggers work, head over to this Zendesk Support article. You can also find more on Tags here.
If you need any further assistance on pushing app reviews to Zendesk, don’t hesitate to contact us with any questions or check out our FAQ section here.